
Remote Exam Interface Guidance
On this page you will find screenshots of our remote exam interface. You receive the link to your exam by email. Open it in Google Chrome or Microsoft Edge with translation plugins turned off. Some exams run in the Safe Exam Browser (SEB). In that case you start the exam in SEB instead, the interface looks the same. The screenshots use a demo exam, so your exam may look slightly different. Your exam’s interface may also differ because of certification-specific exam regulations or recent updates not yet reflected here. Click any screenshot to enlarge it.
Before the Exam
Check-in
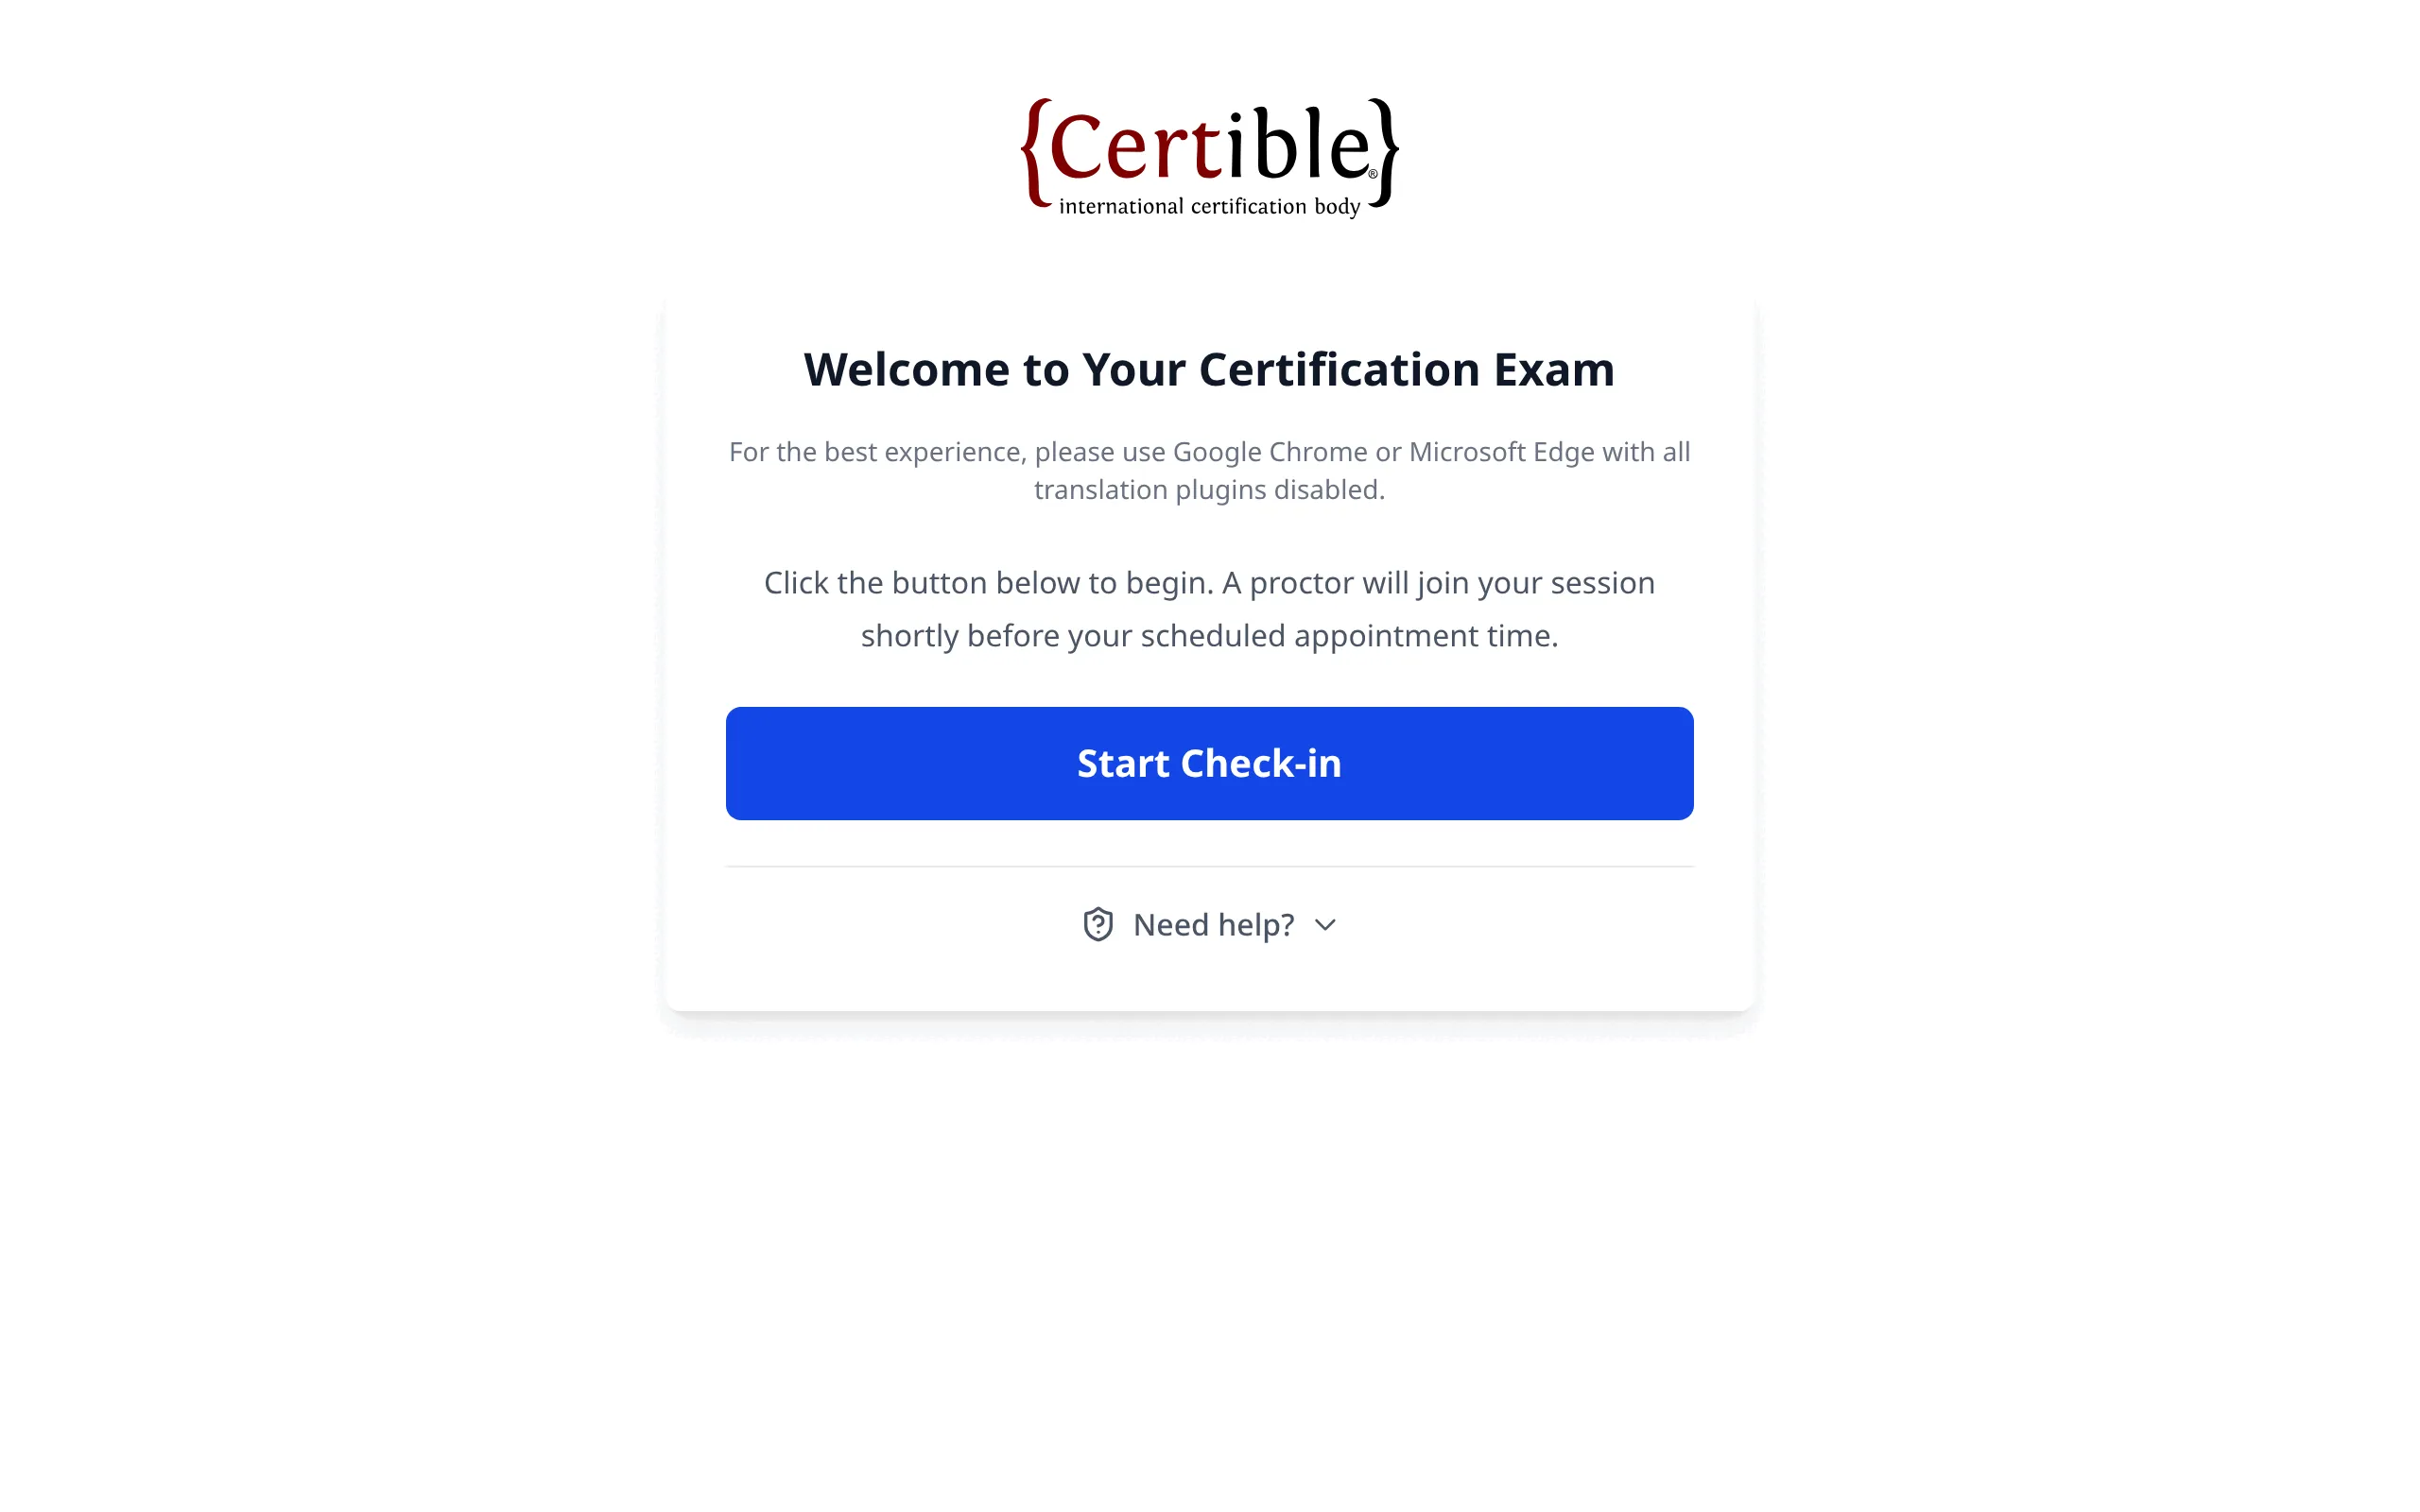
Click “Start Check-in” to begin. The proctor joins shortly before your exam starts. If something does not work, open “Need help?” to reach our support by phone or email.
Setup
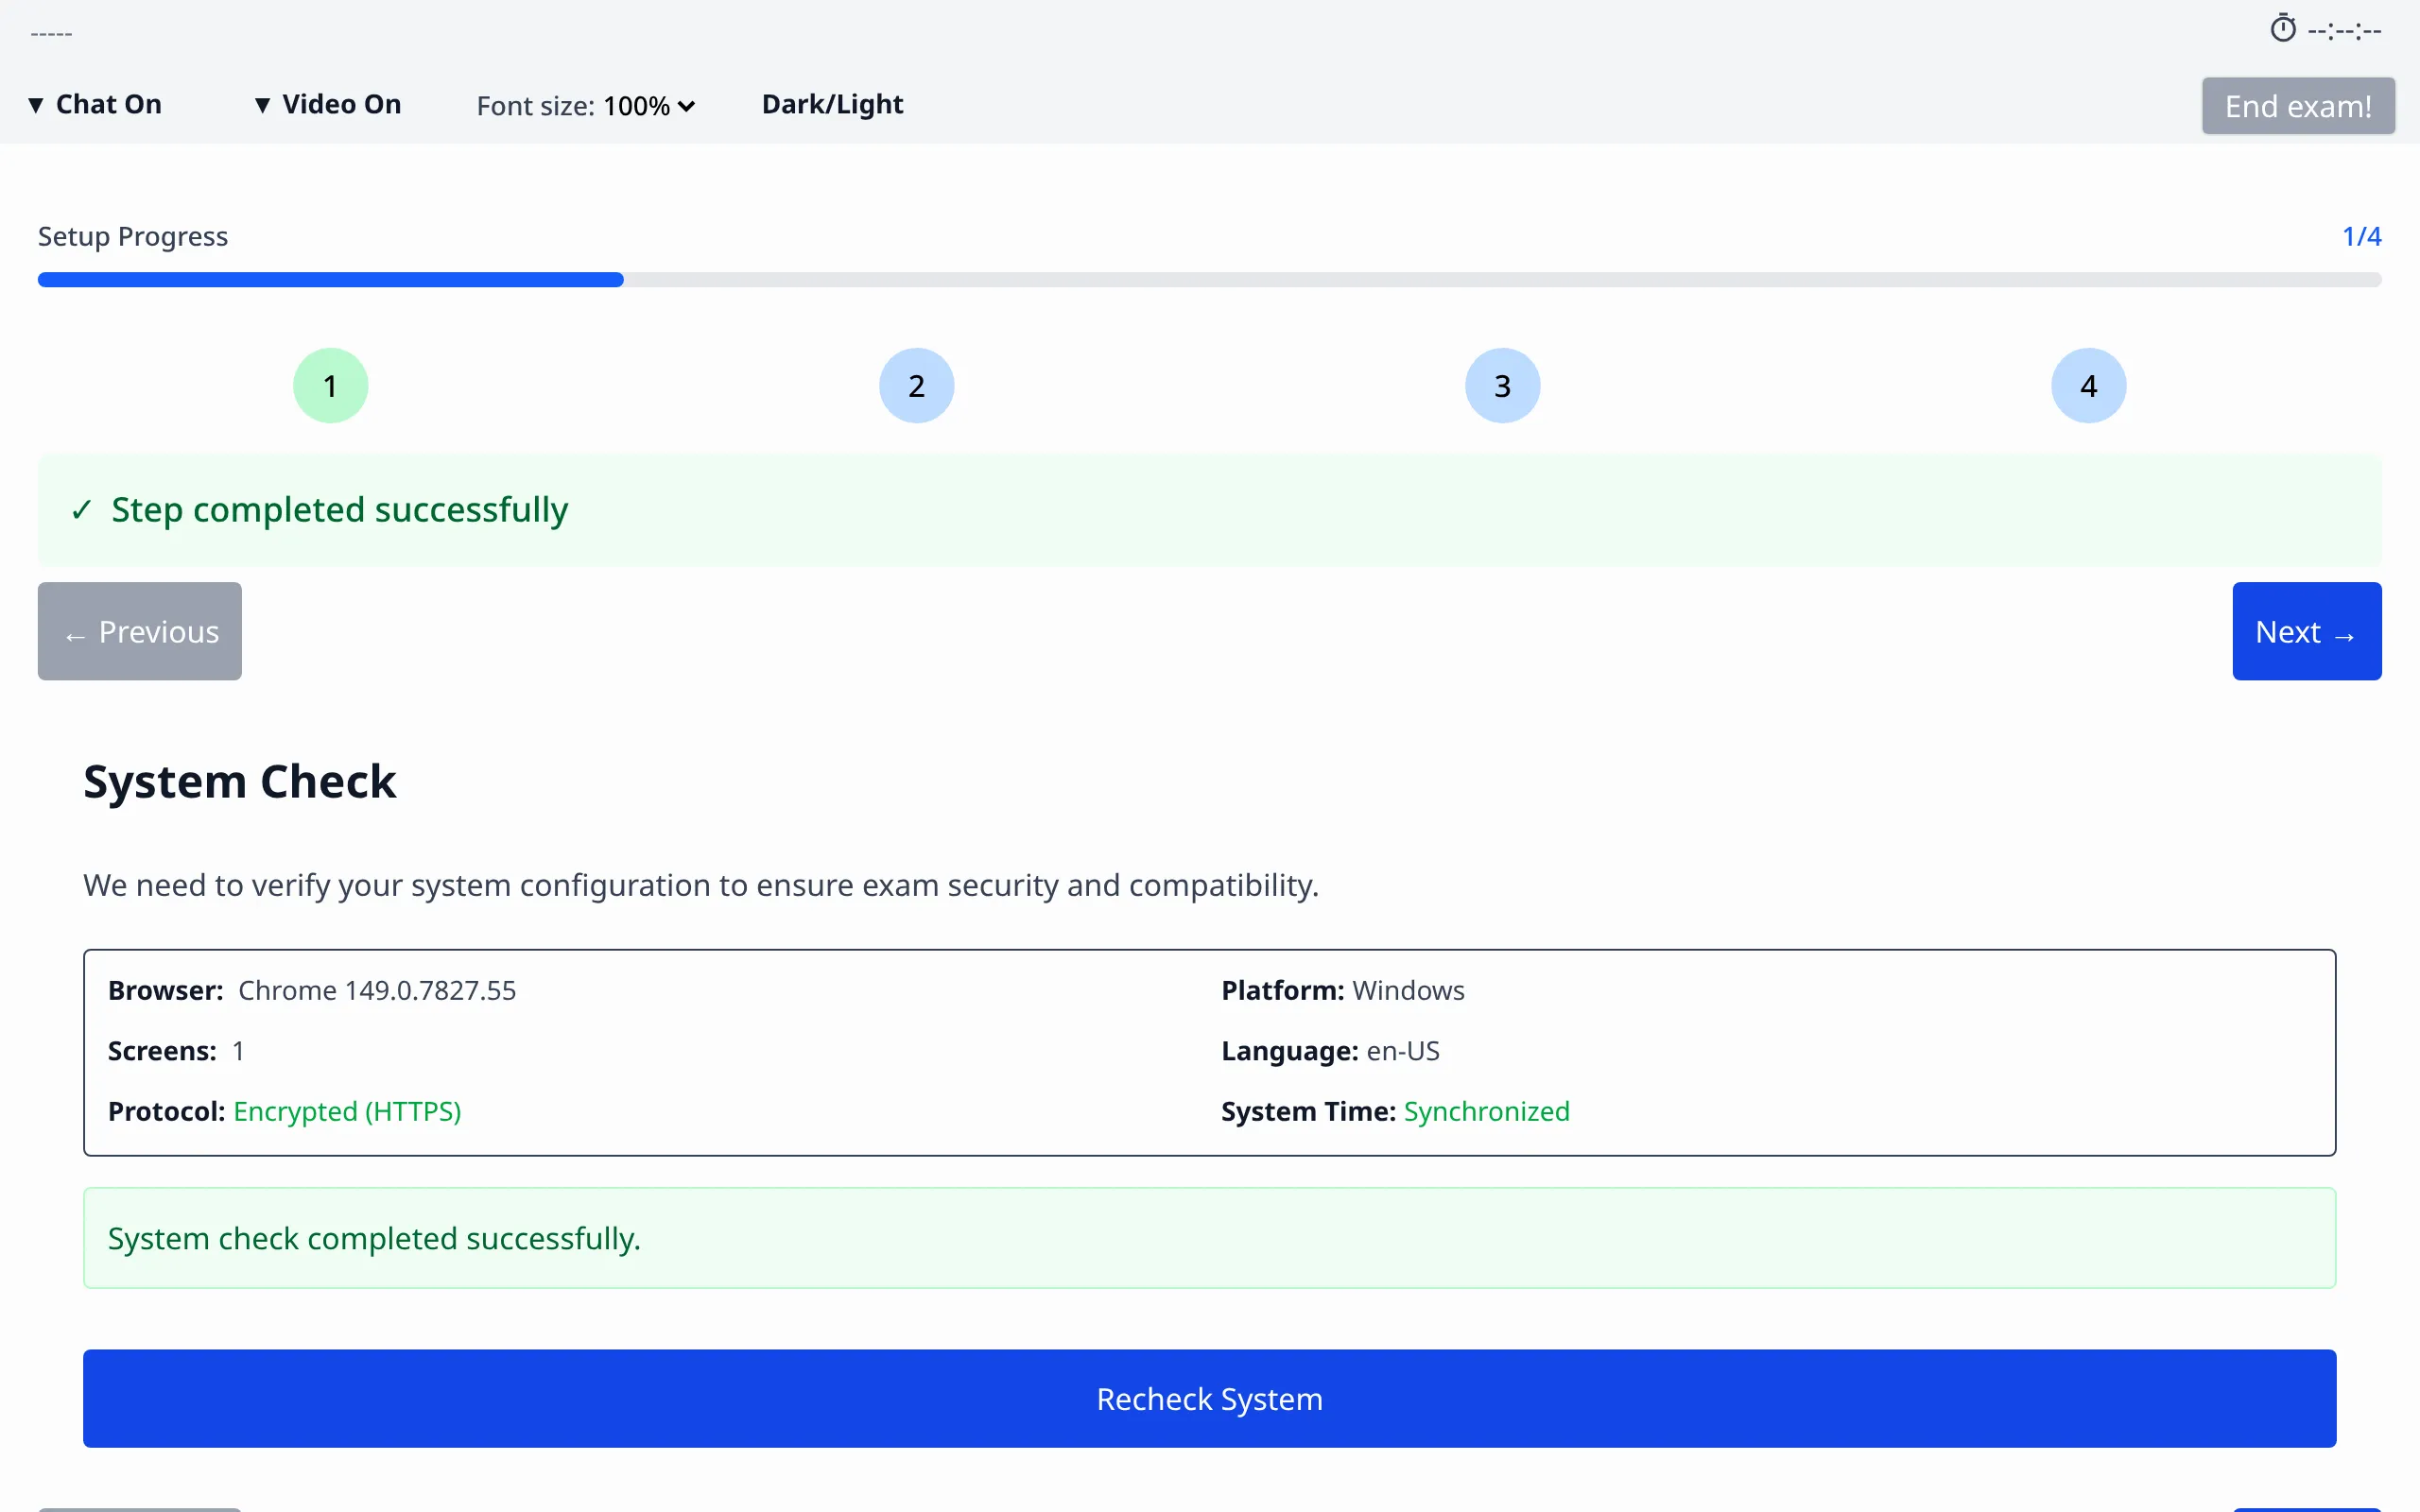
The setup checks step by step that your computer and browser are ready for the exam. Allow access when your browser asks. If you have not used your camera and microphone with this browser before, you may also need to allow access in your operating system. If a step fails, follow the hint on the page.
Preparation
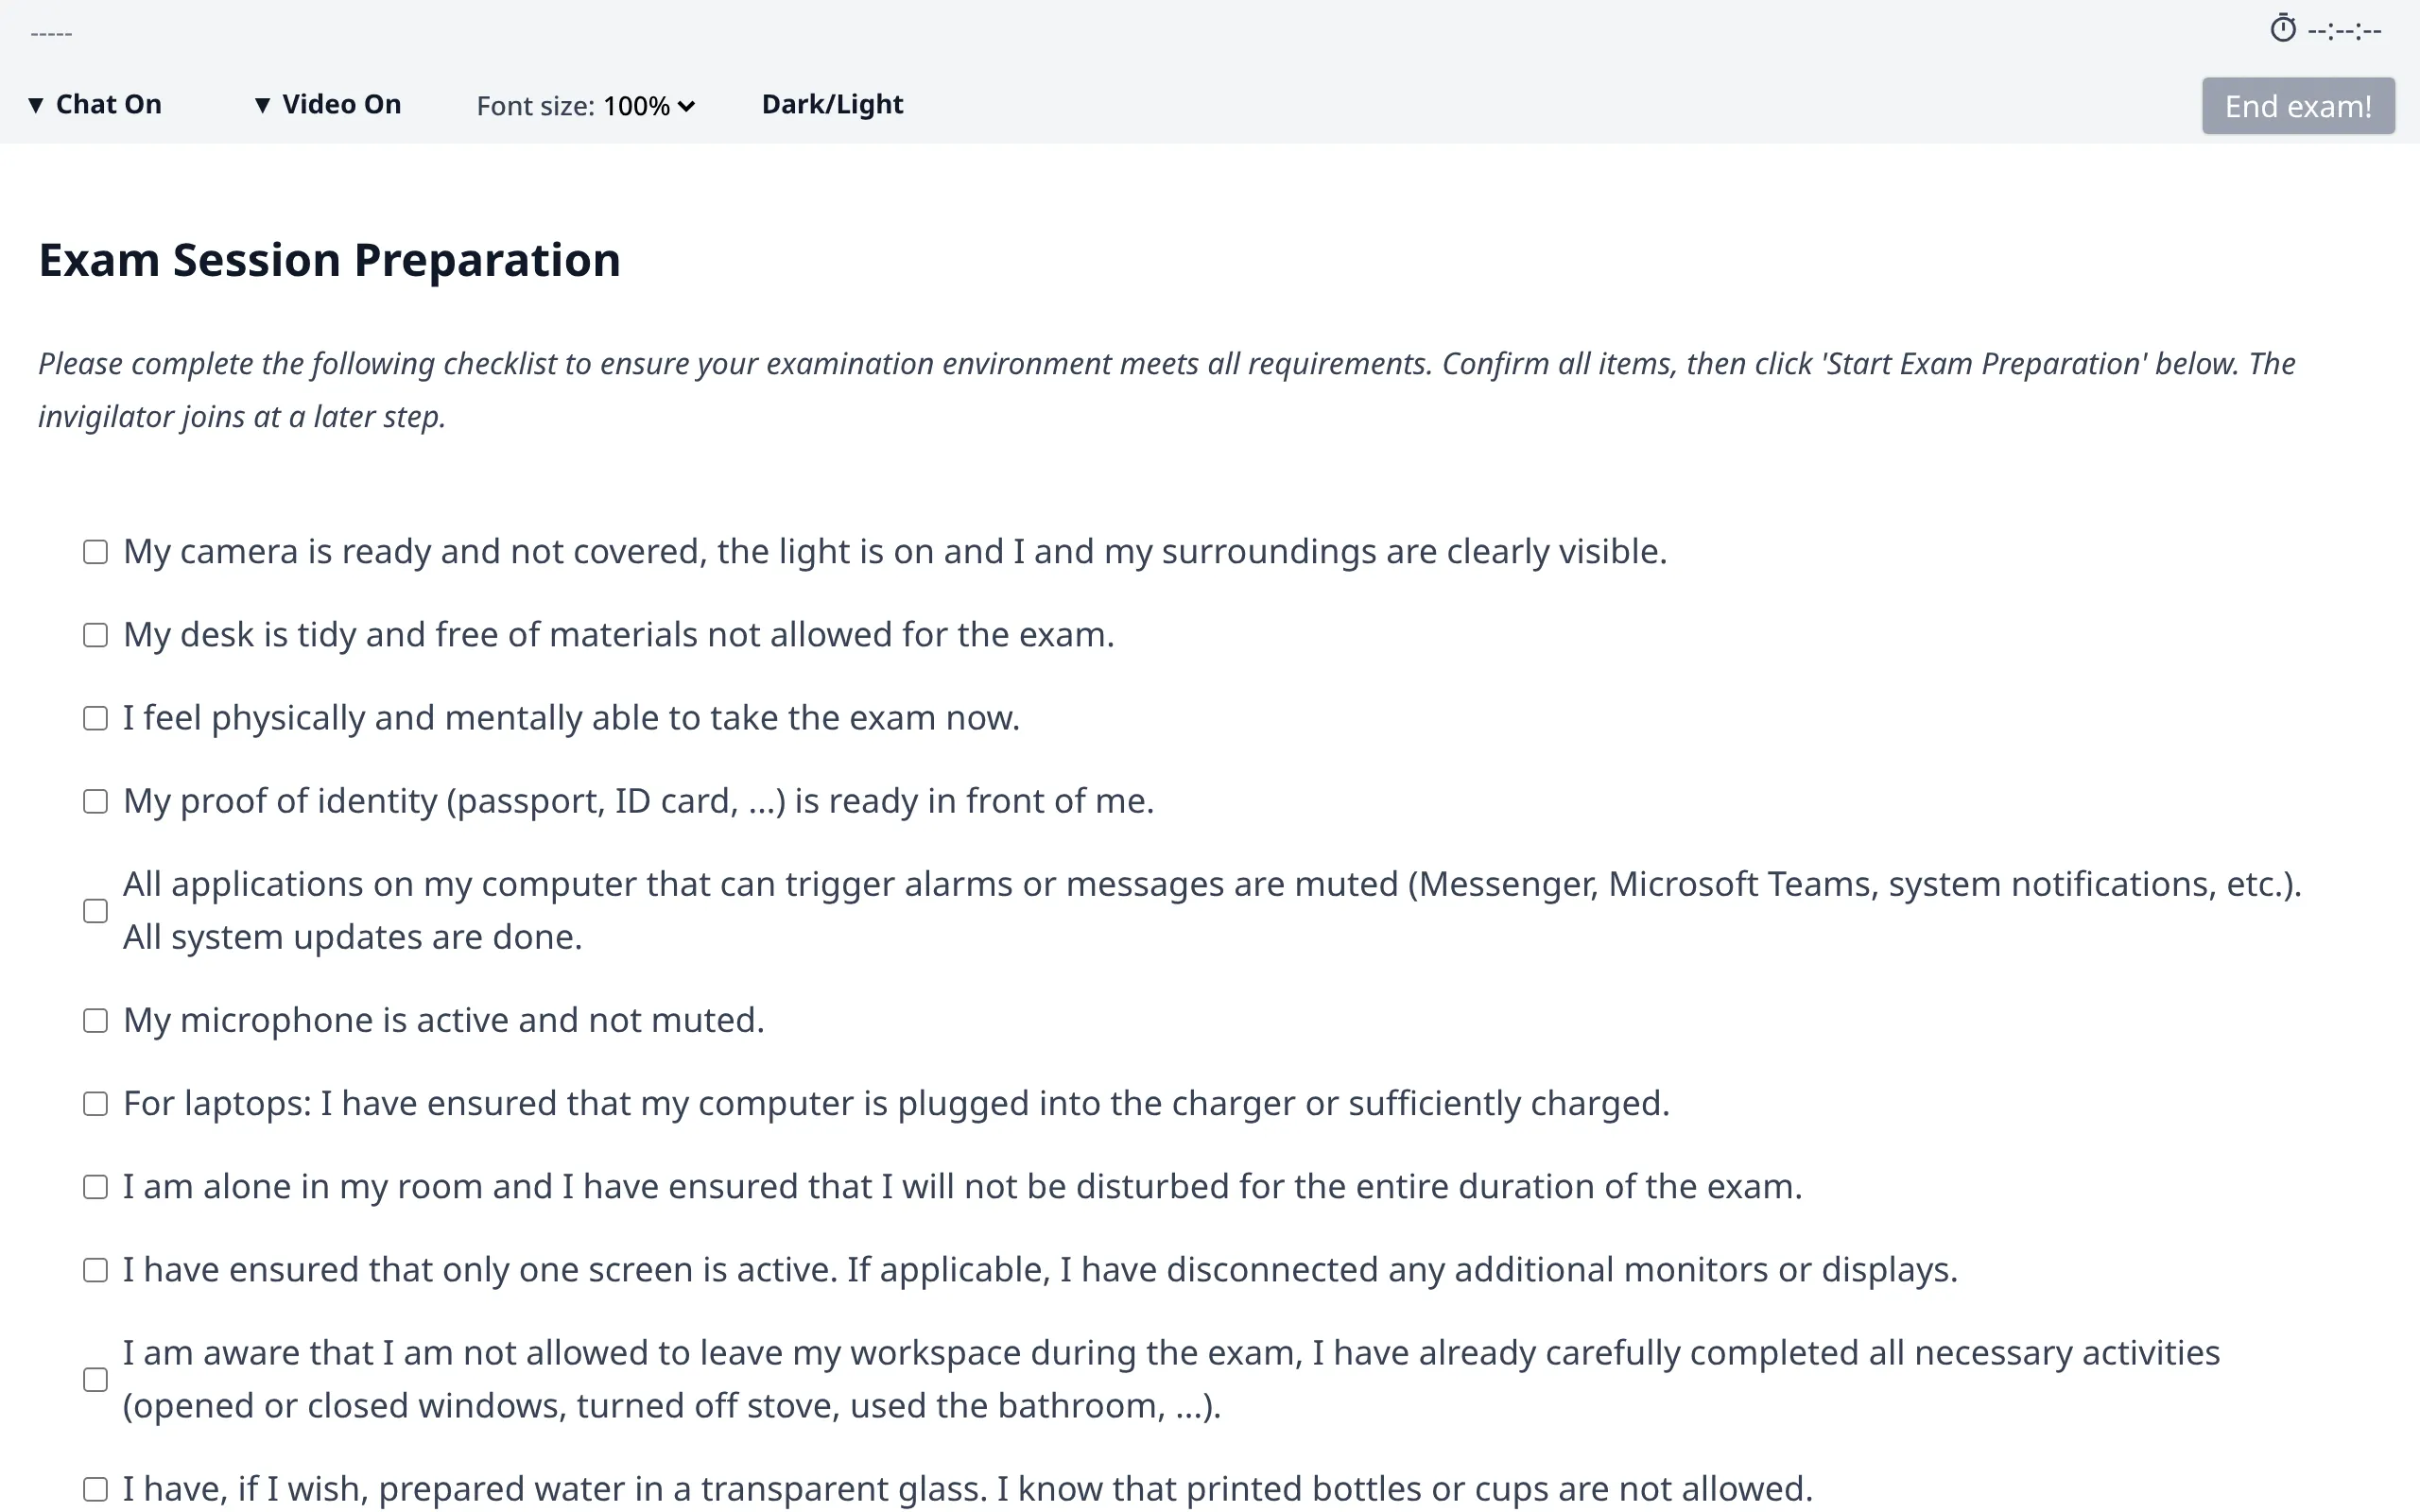
Here you get yourself and your workplace ready before you meet the proctor, so the check with the proctor goes quickly. You confirm a checklist for your room and desk and connect your phone as a second device with the QR code. The invigilator can use the second device for the workplace check. After the check, place it to the side, diagonally behind you: it streams video during the full exam. If you wish, you can also upload a photo of your ID for the identity check; this is optional. You also read which actions lock the exam. The exam has not started yet, so take your time.
Reception
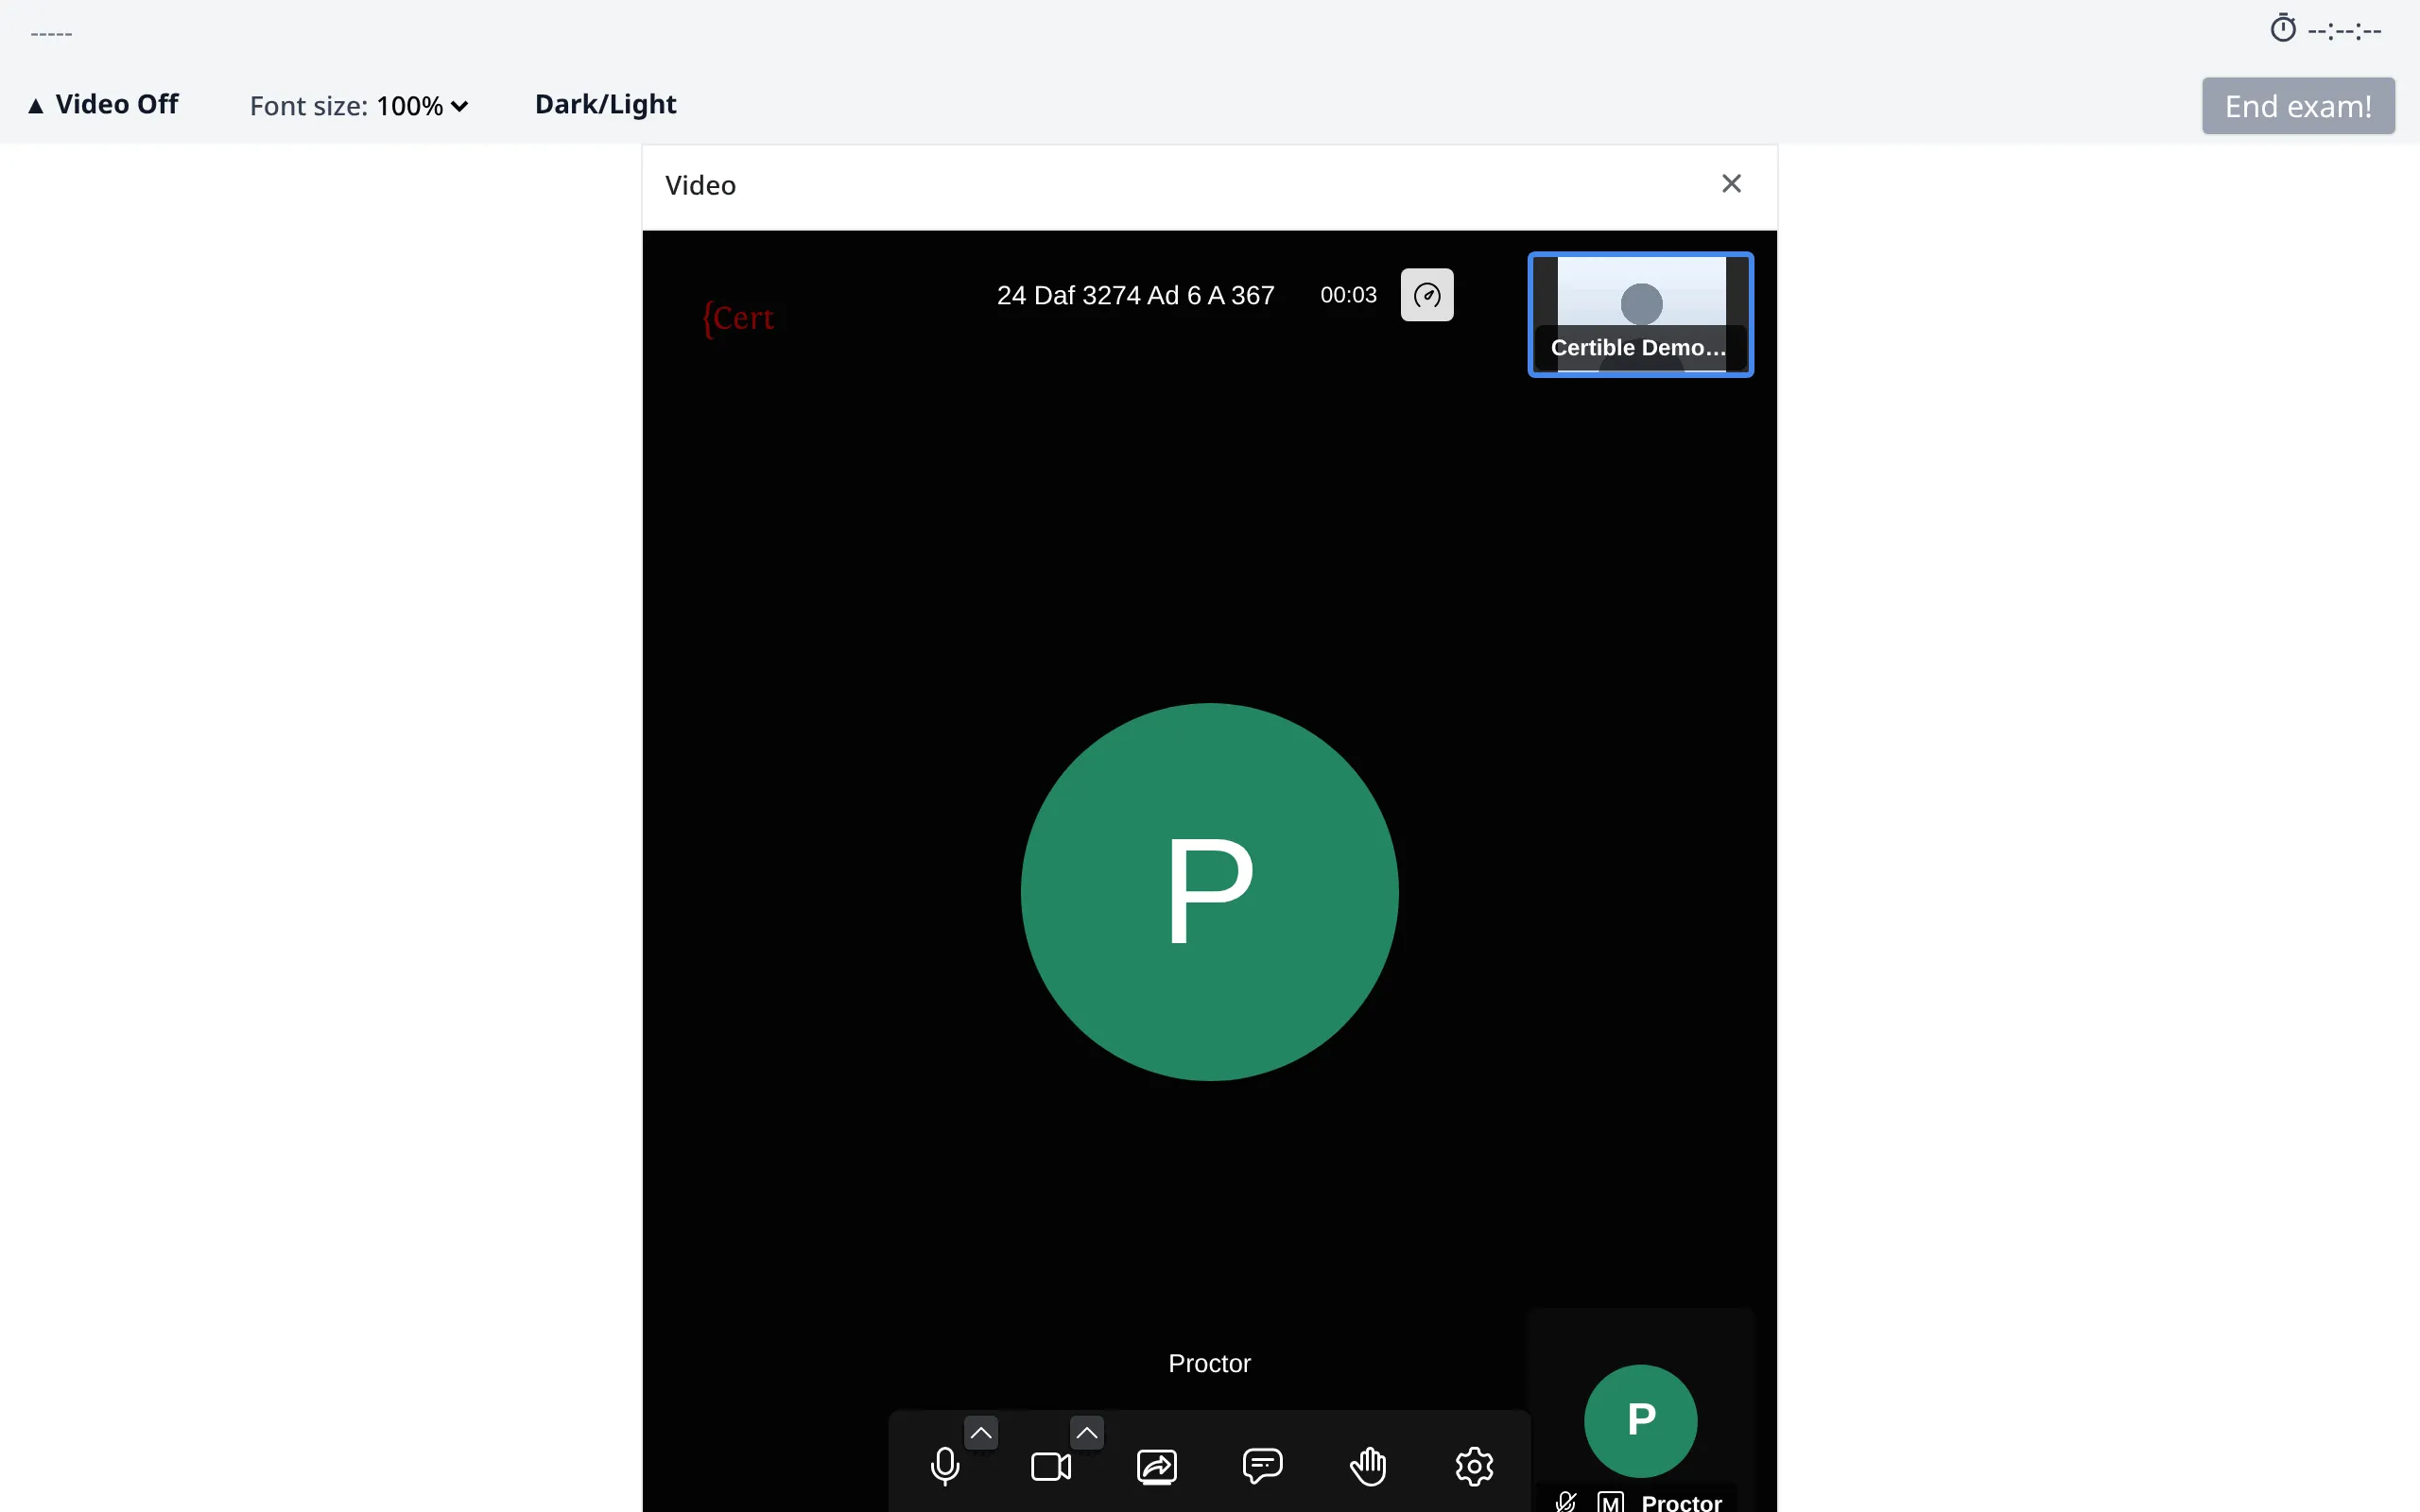
Only after you finish the preparation do you come to the reception page. A proctor joins you shortly. Until then you may only see yourself, which is fine. The proctor checks your ID card or passport and asks you to show your workplace.
Exam Conditions
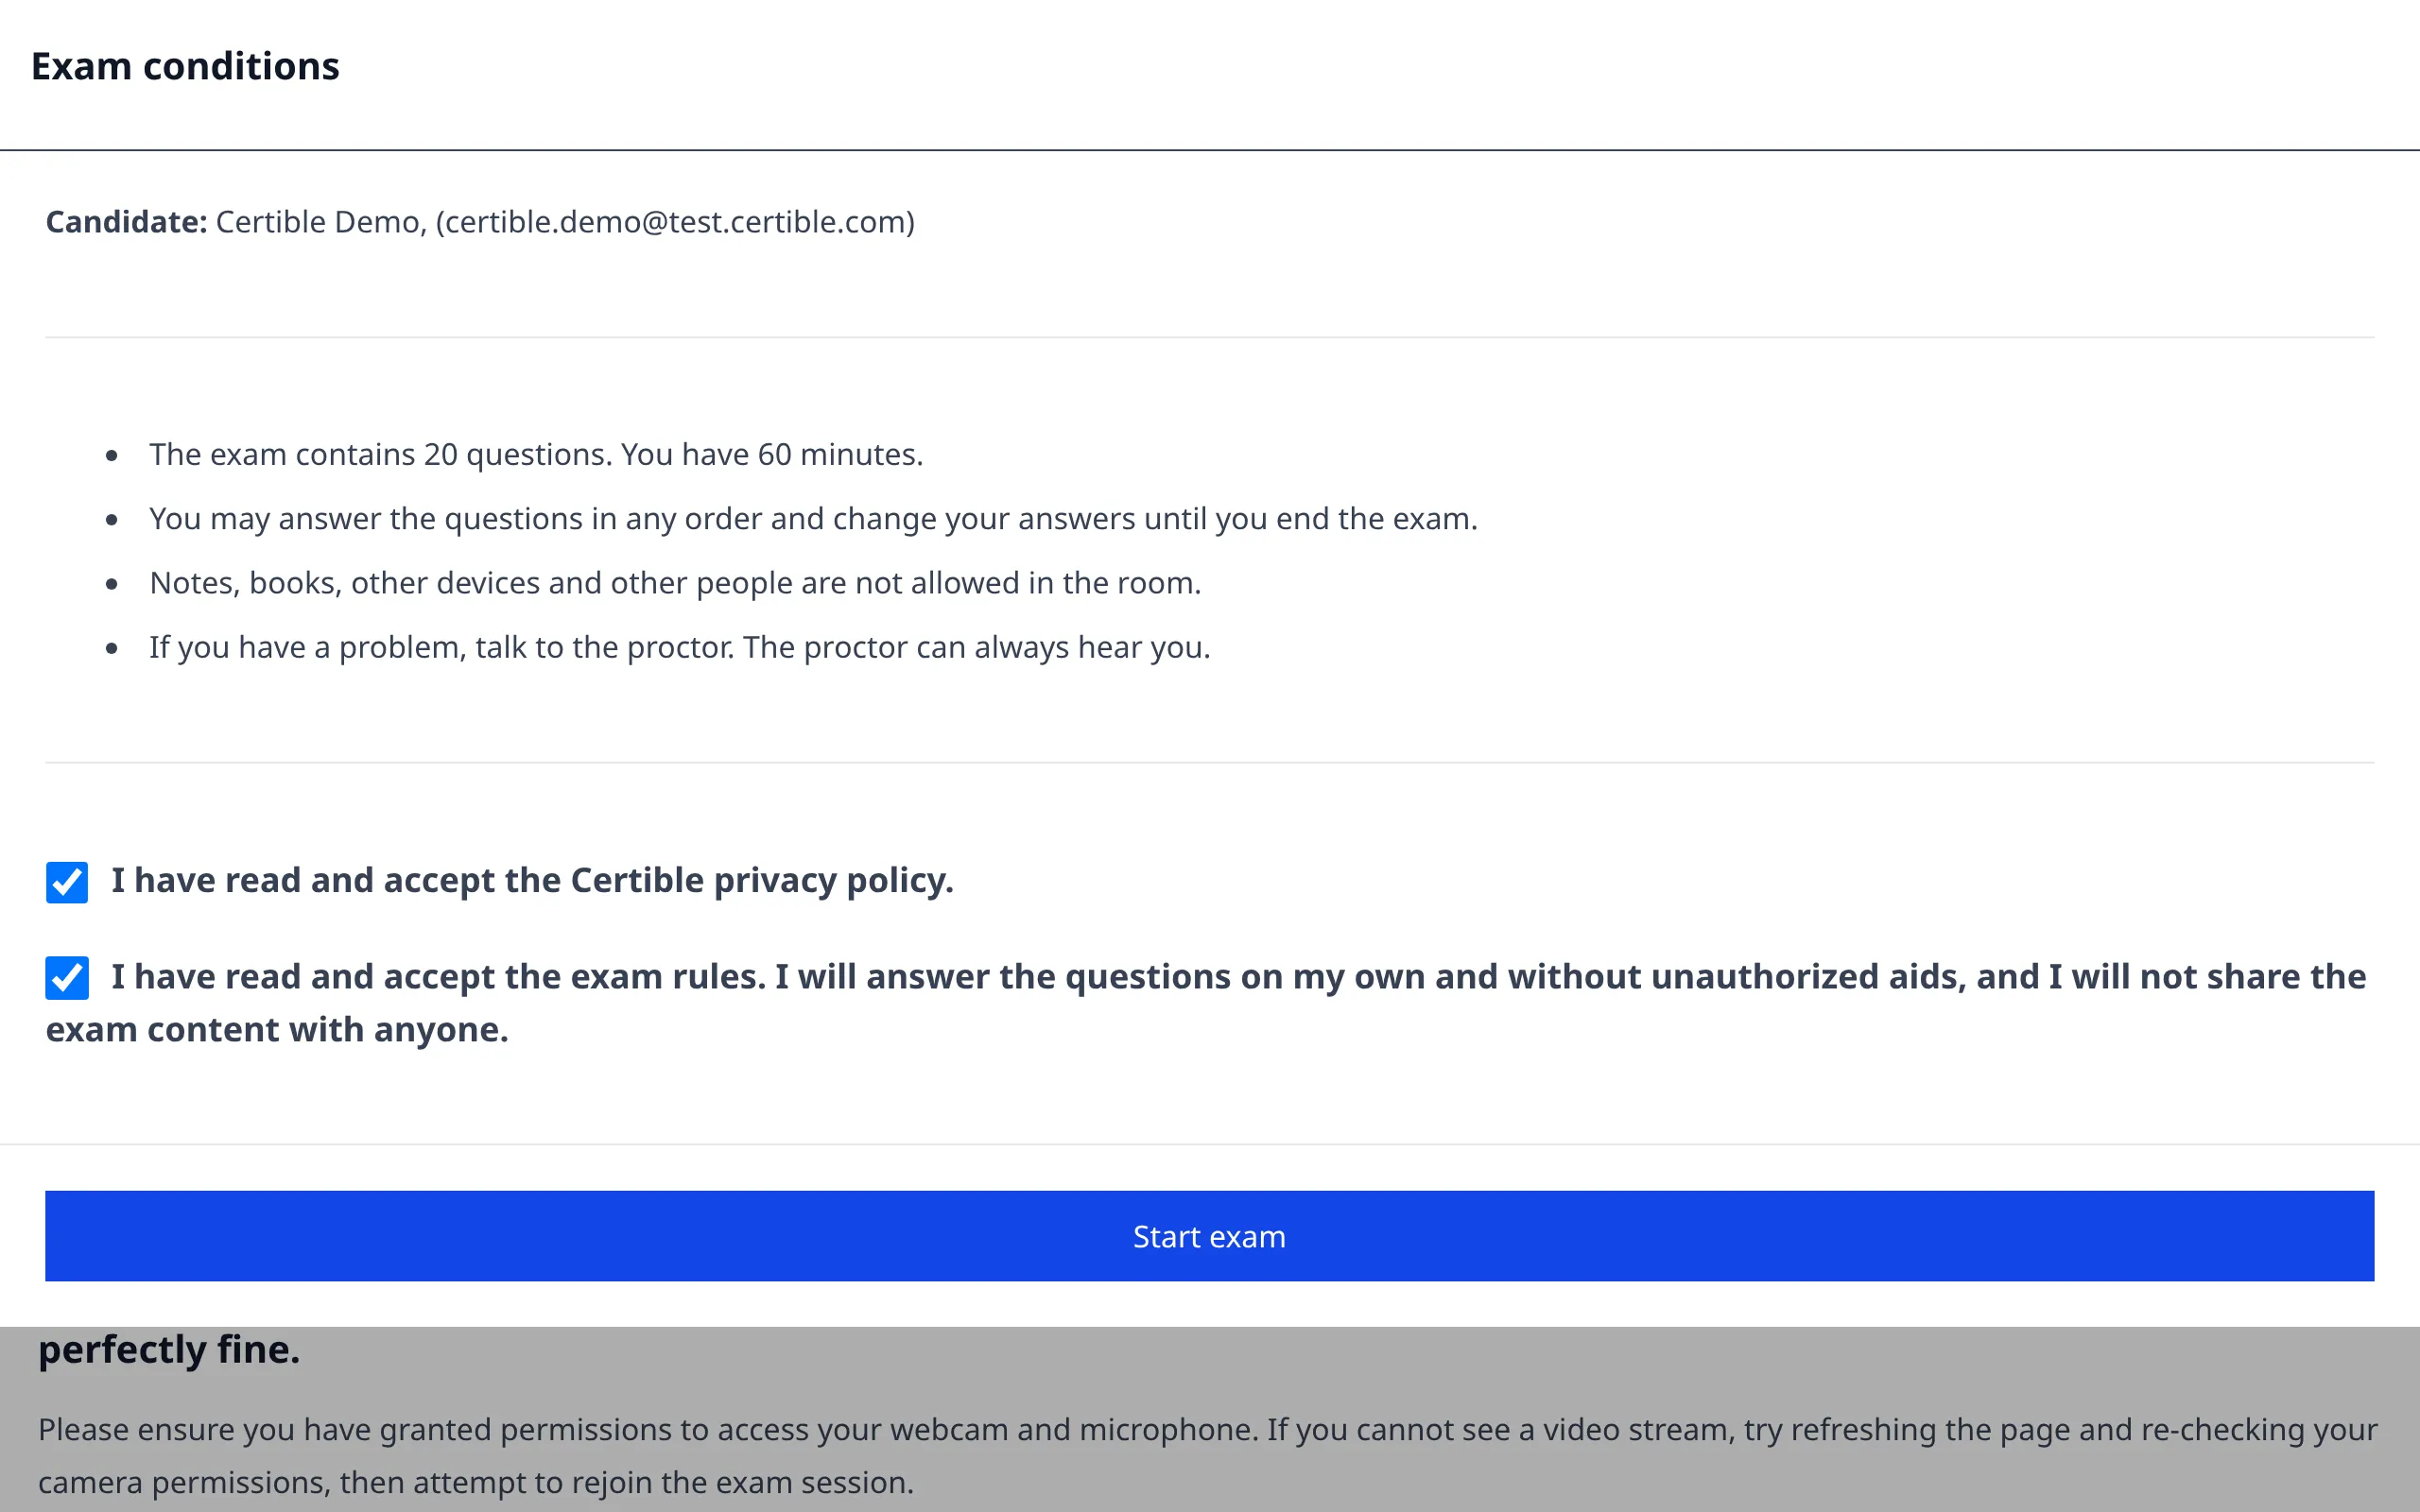
When the proctor has finished the check with you, you see the exam conditions. Read them and tick all checkboxes. The exam timer only starts after you accept them and click “Start exam”, so take your time here.
During the Exam
Exam Interface
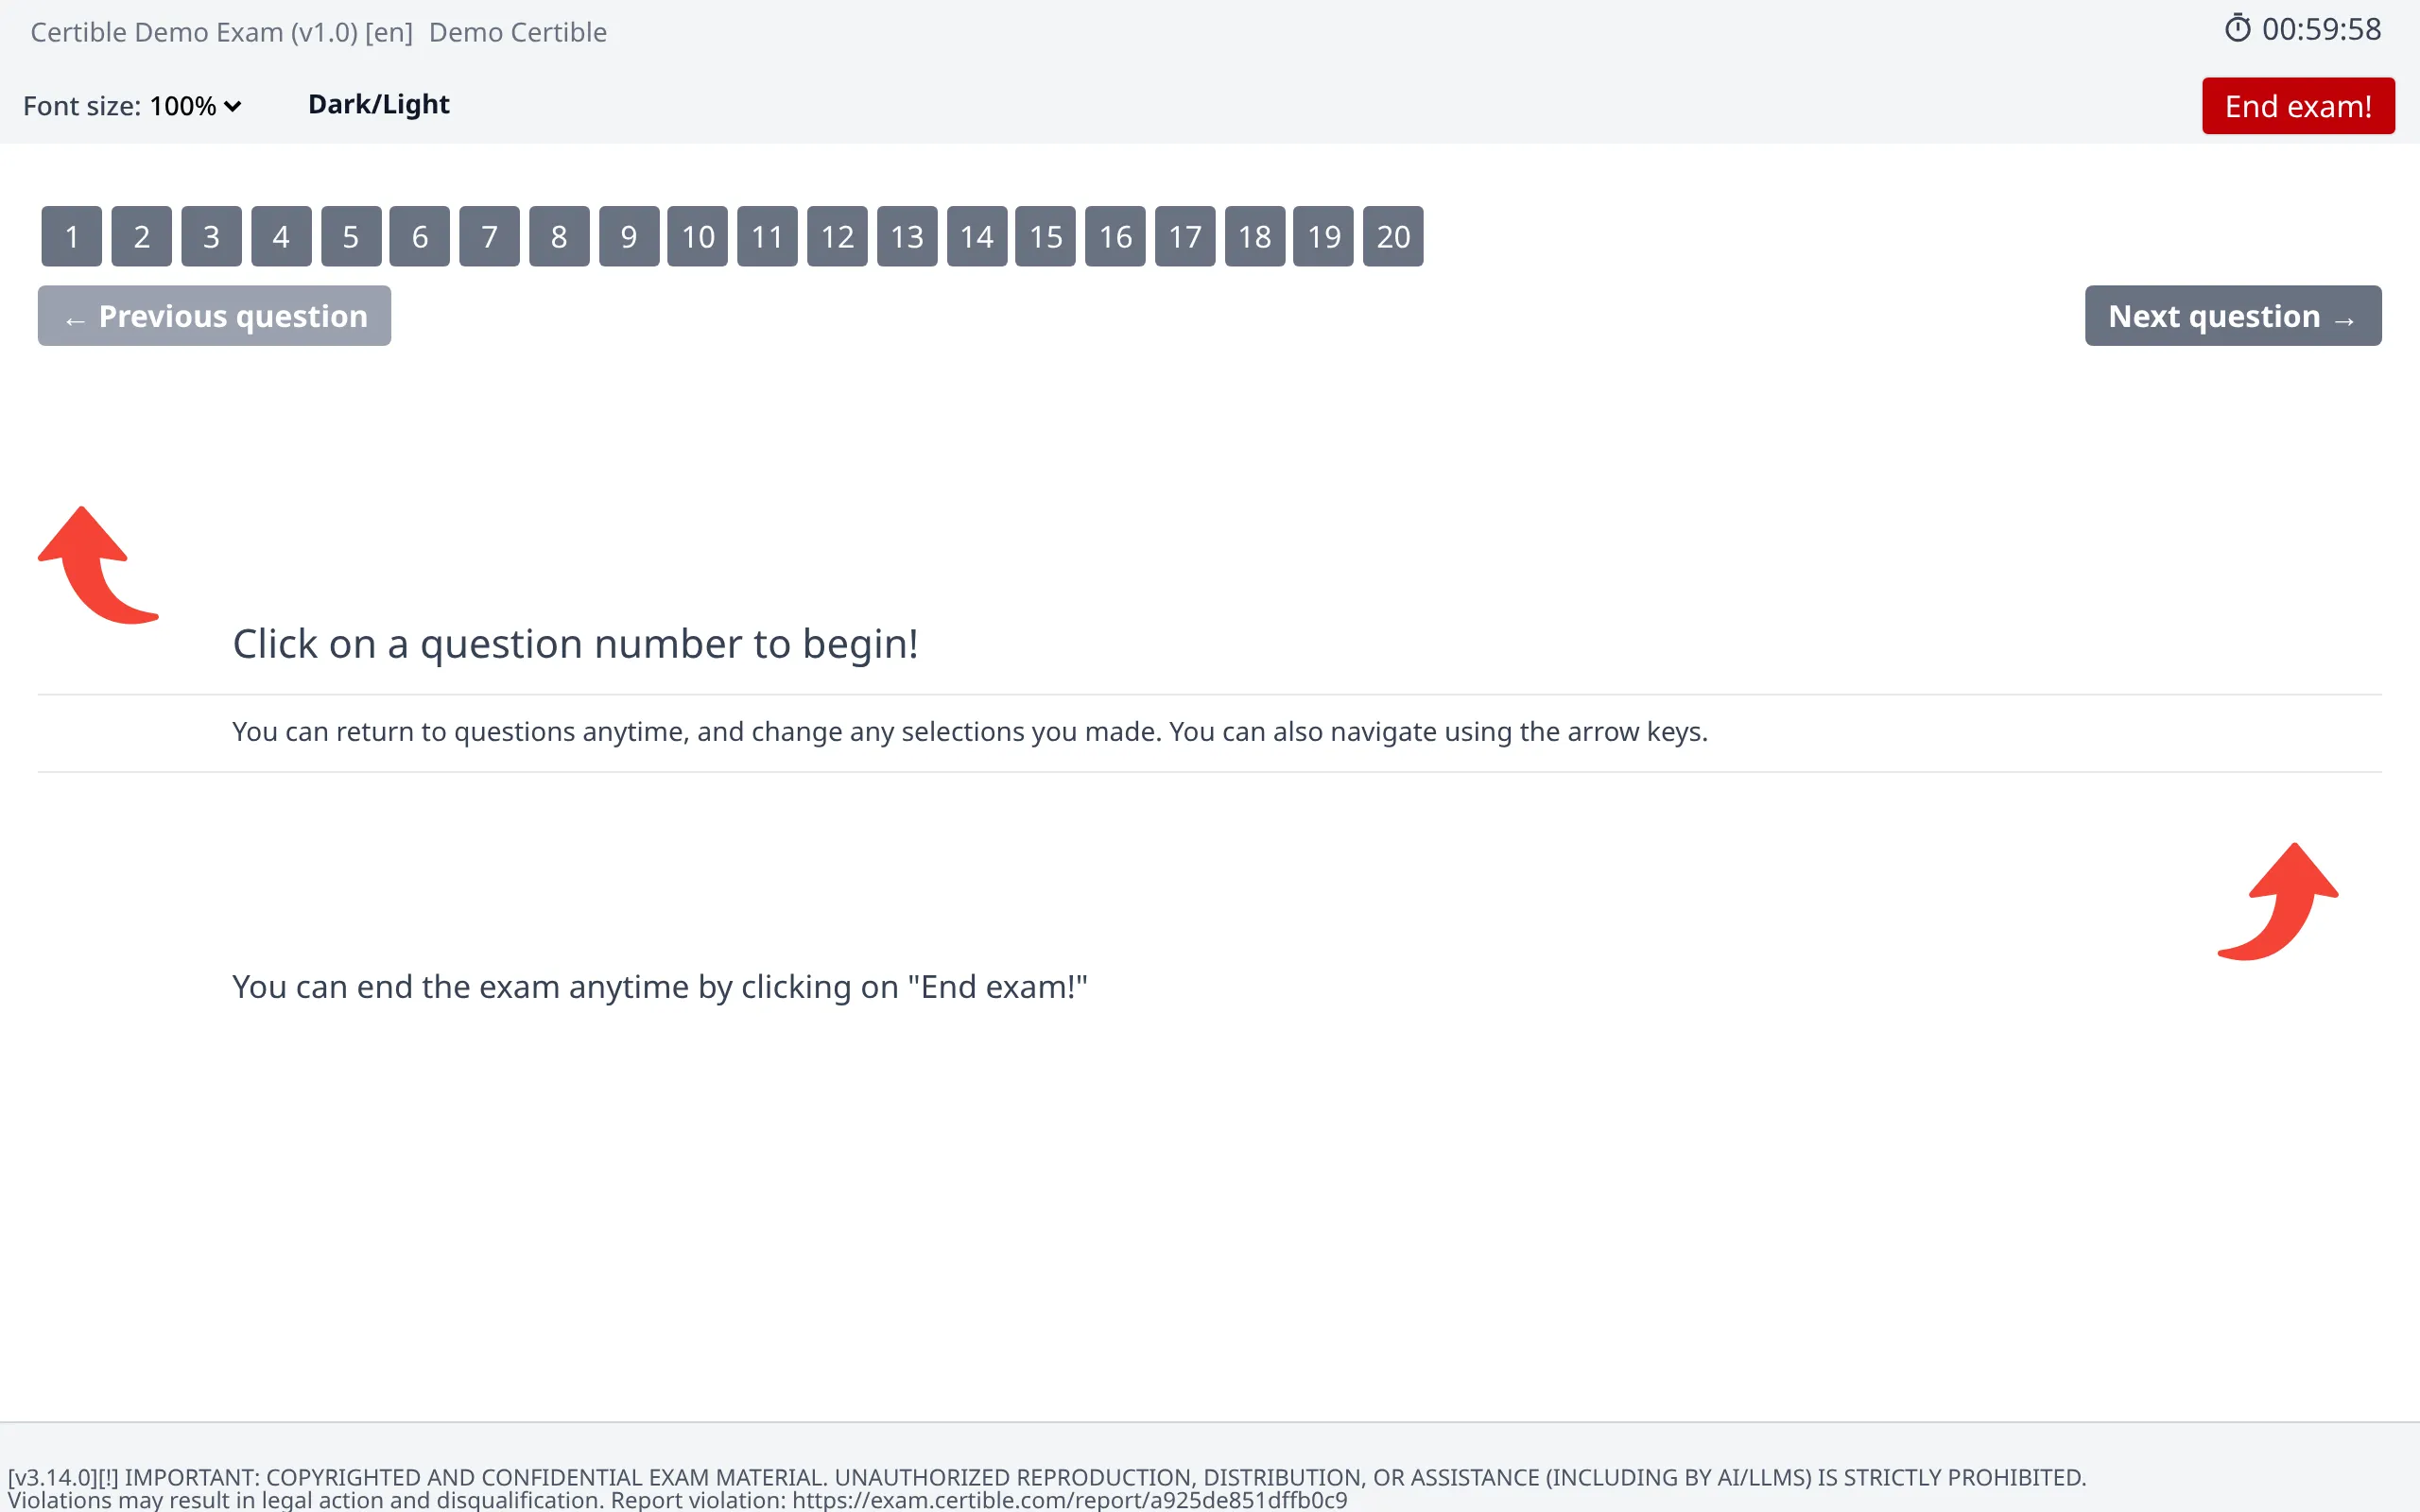
Each numbered button at the top stands for one question. Click a number to open that question. You can answer in any order and change your answers until you end the exam. The remaining time is shown in the top right corner.
Below the numbers, “Previous question” and “Next question” take you through the questions in order. The arrow keys do the same. At the last question, “Next question” is greyed out. To finish, click “End exam!” in the top right corner.
Answer Types
There are different types of answers depending on your exam, for example:
Choosing Answers
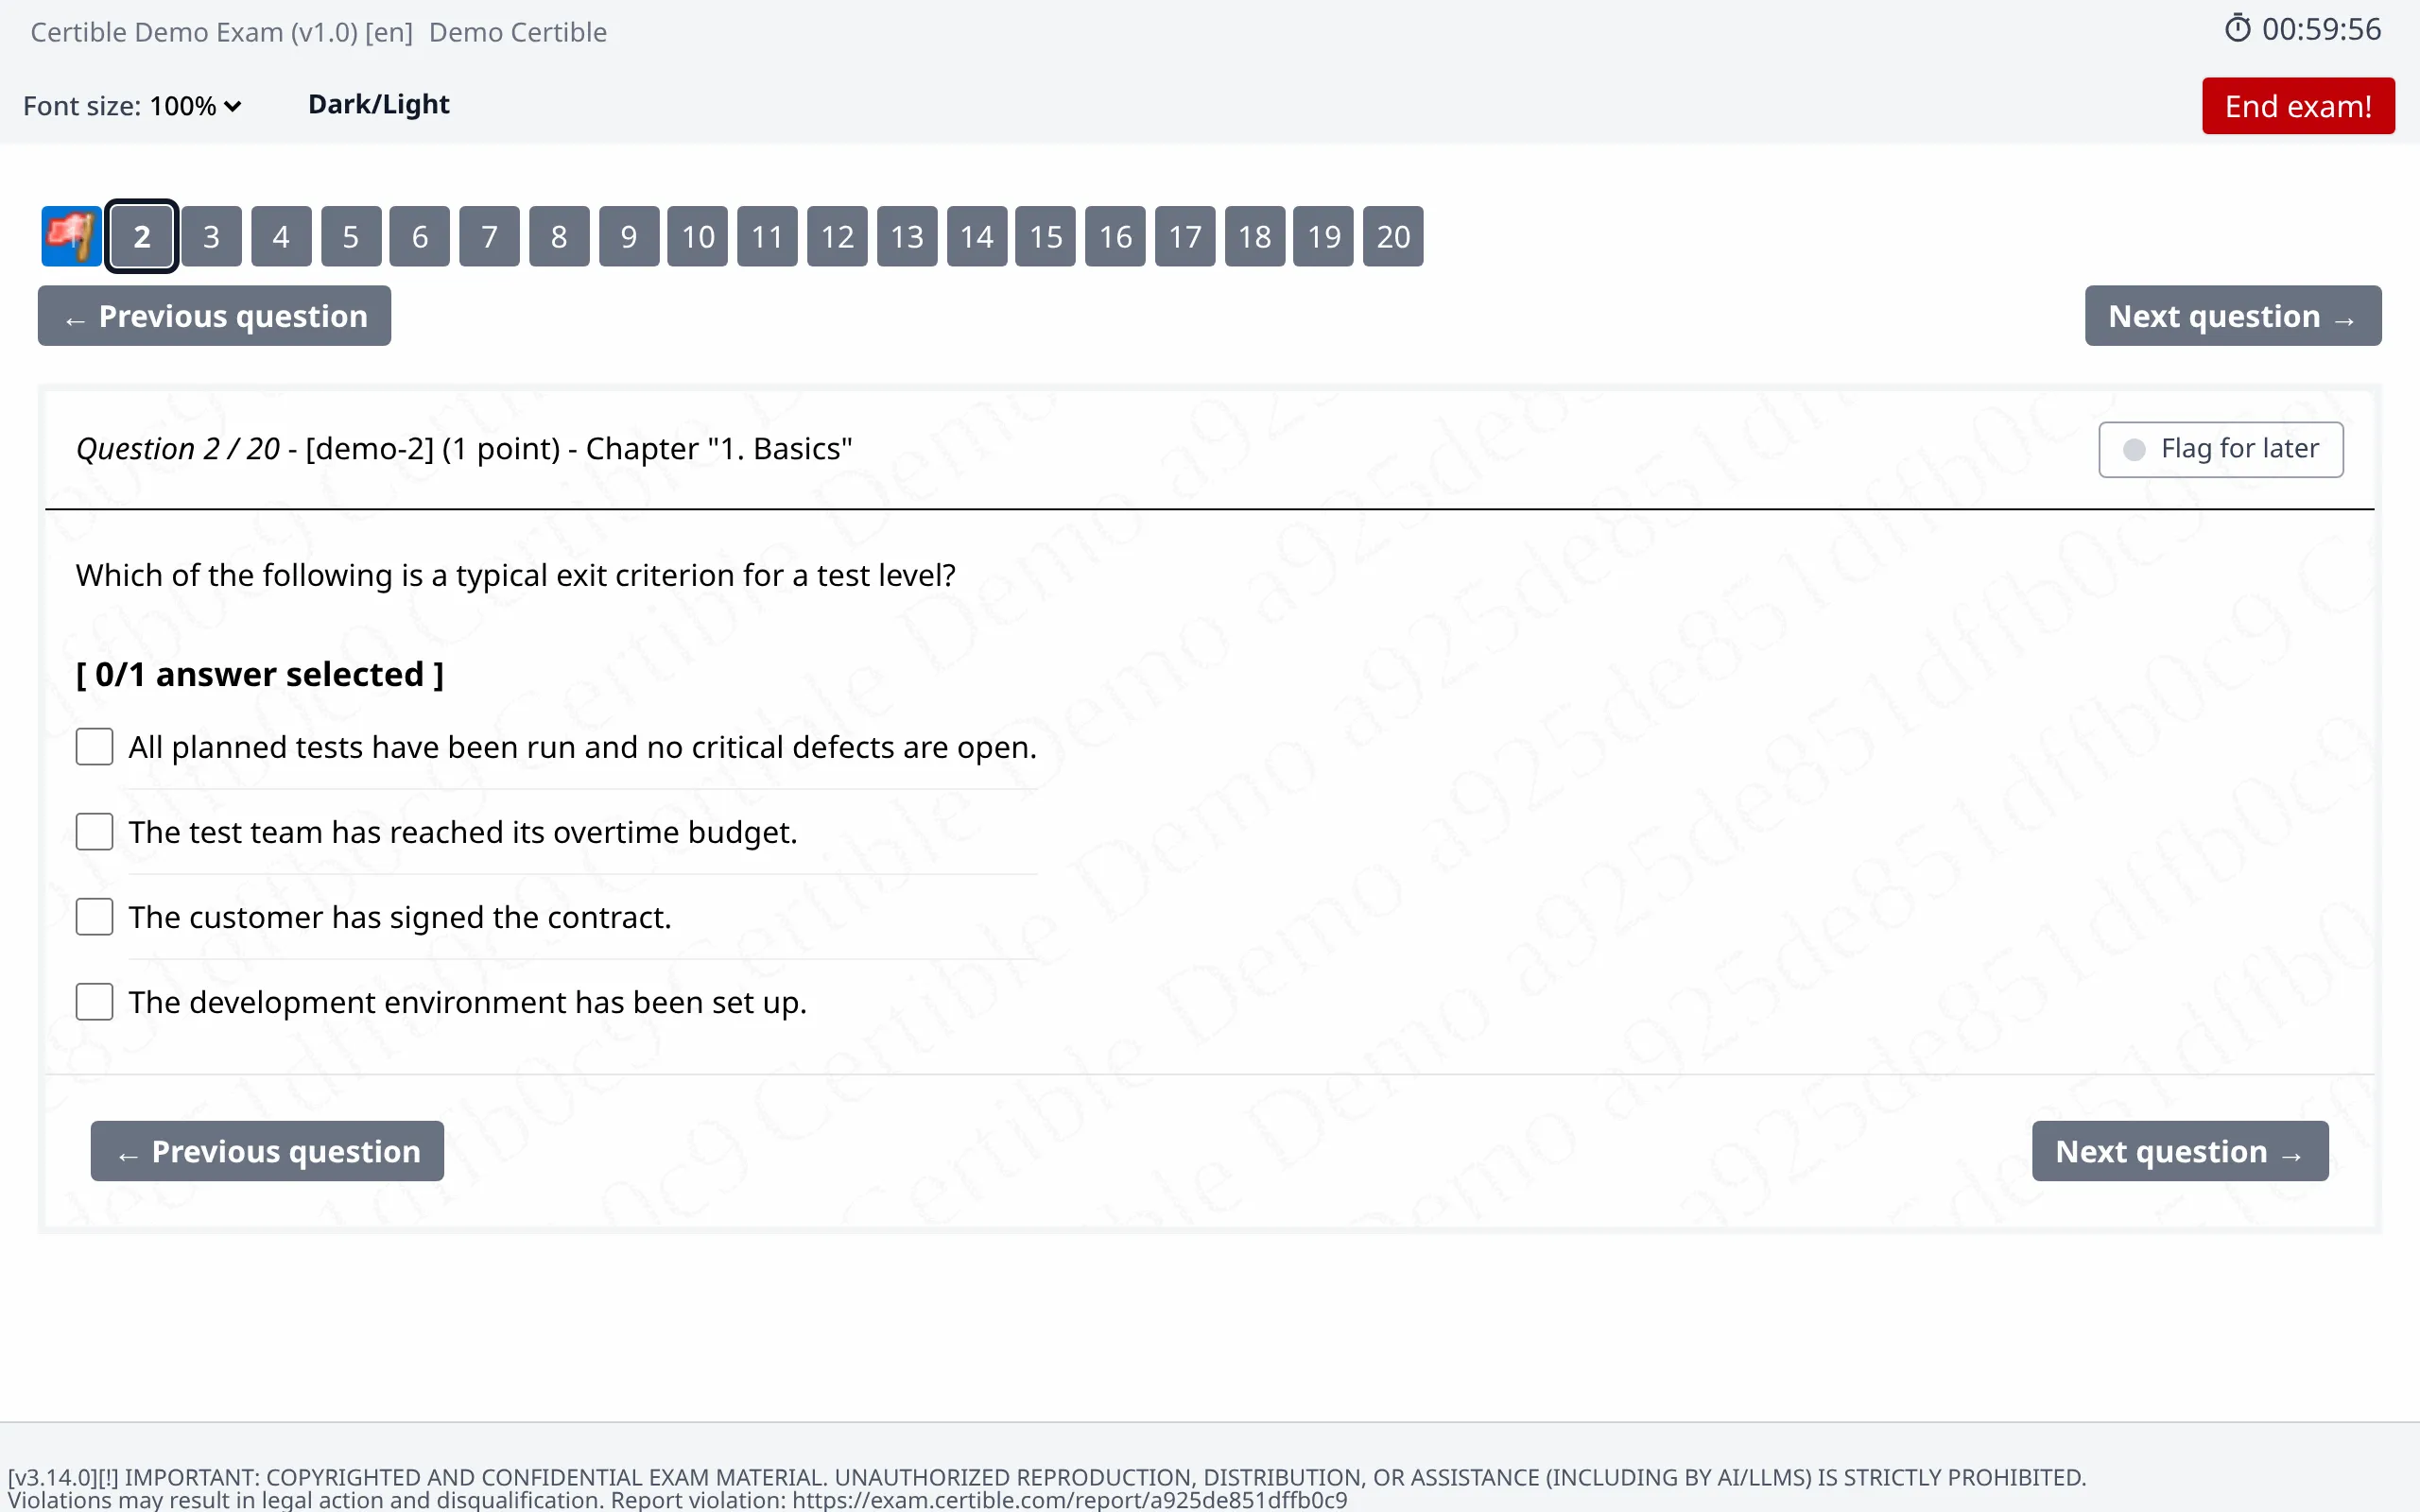
Above the answers you see how many answers you have selected and how many to select, for example ”[ 0/1 answer selected ]”. The colour of the question number shows how far a question is answered:
- Grey: not answered yet.
- Light blue: fewer answers selected than required.
- Dark blue: the required number of answers is selected.
- Red: too many answers selected, the question then scores zero points. A warning next to the count says so too.
The colour does not show whether your answer is correct.
Click “Flag for later” in the top right corner of the question to find it again later. Its number then shows a red flag. The flag is only a reminder for you and has no effect on your score.
True or False per Statement
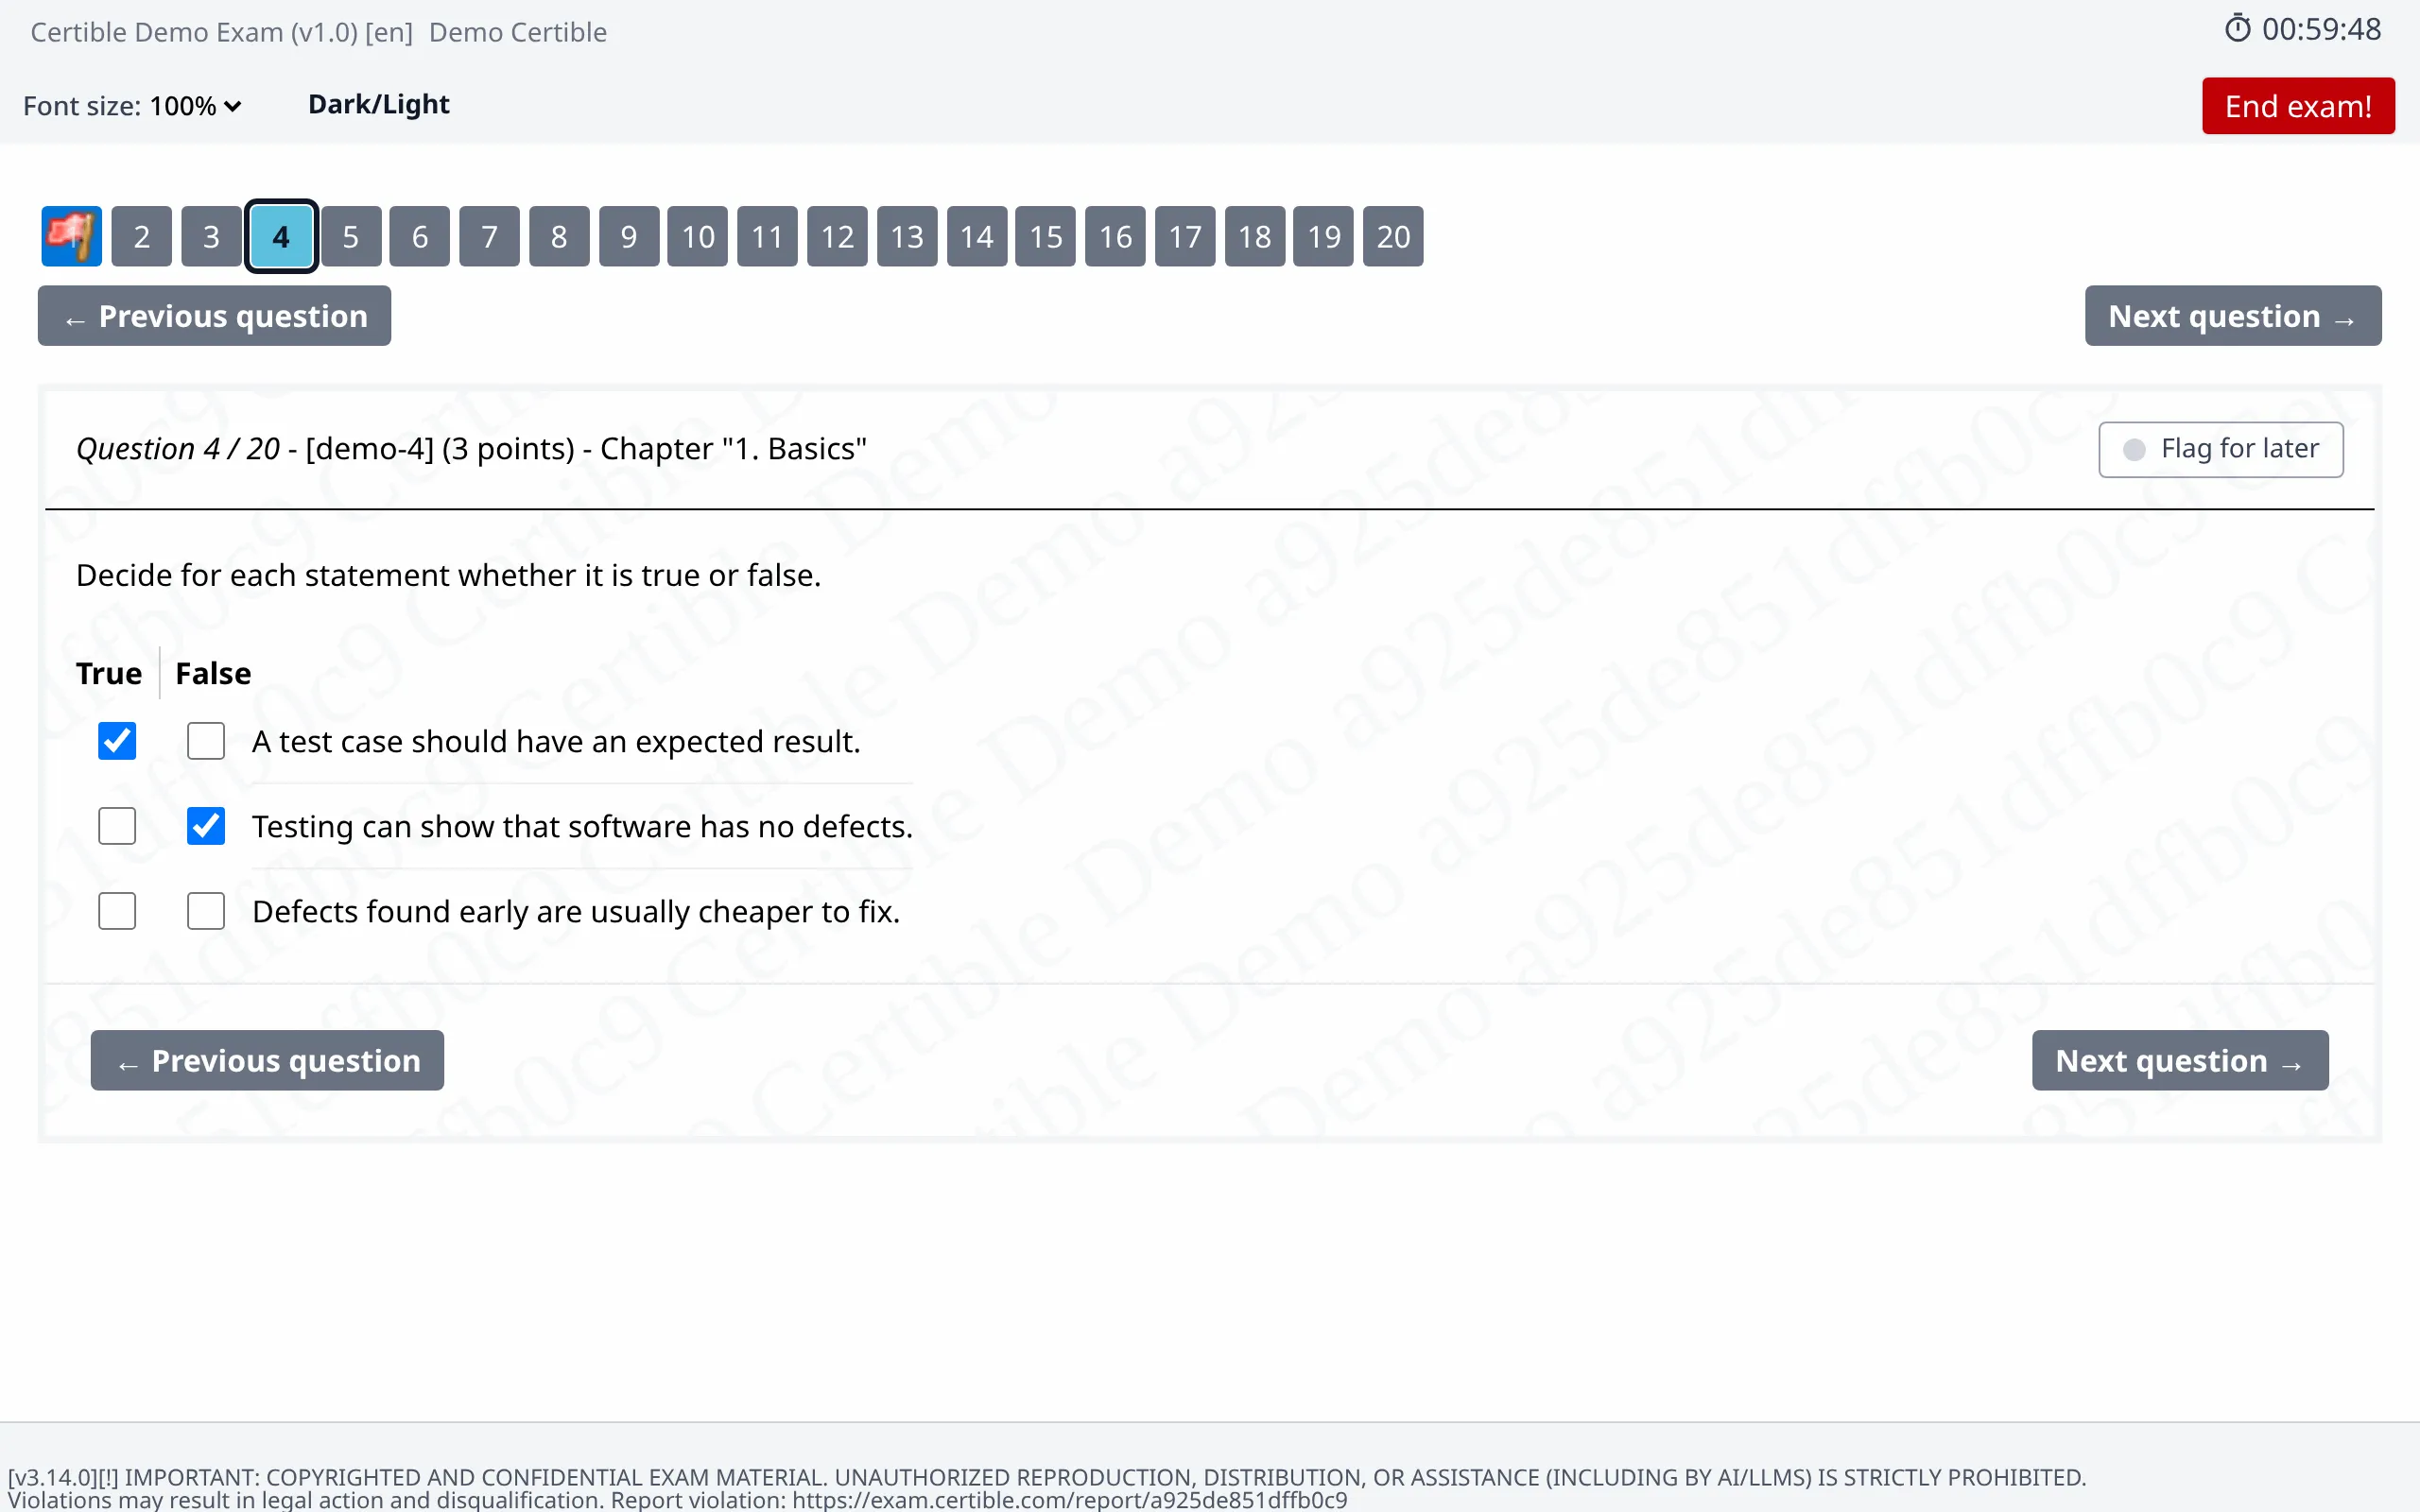
For each statement, choose one of the two columns, for example true or false.
Written Answers
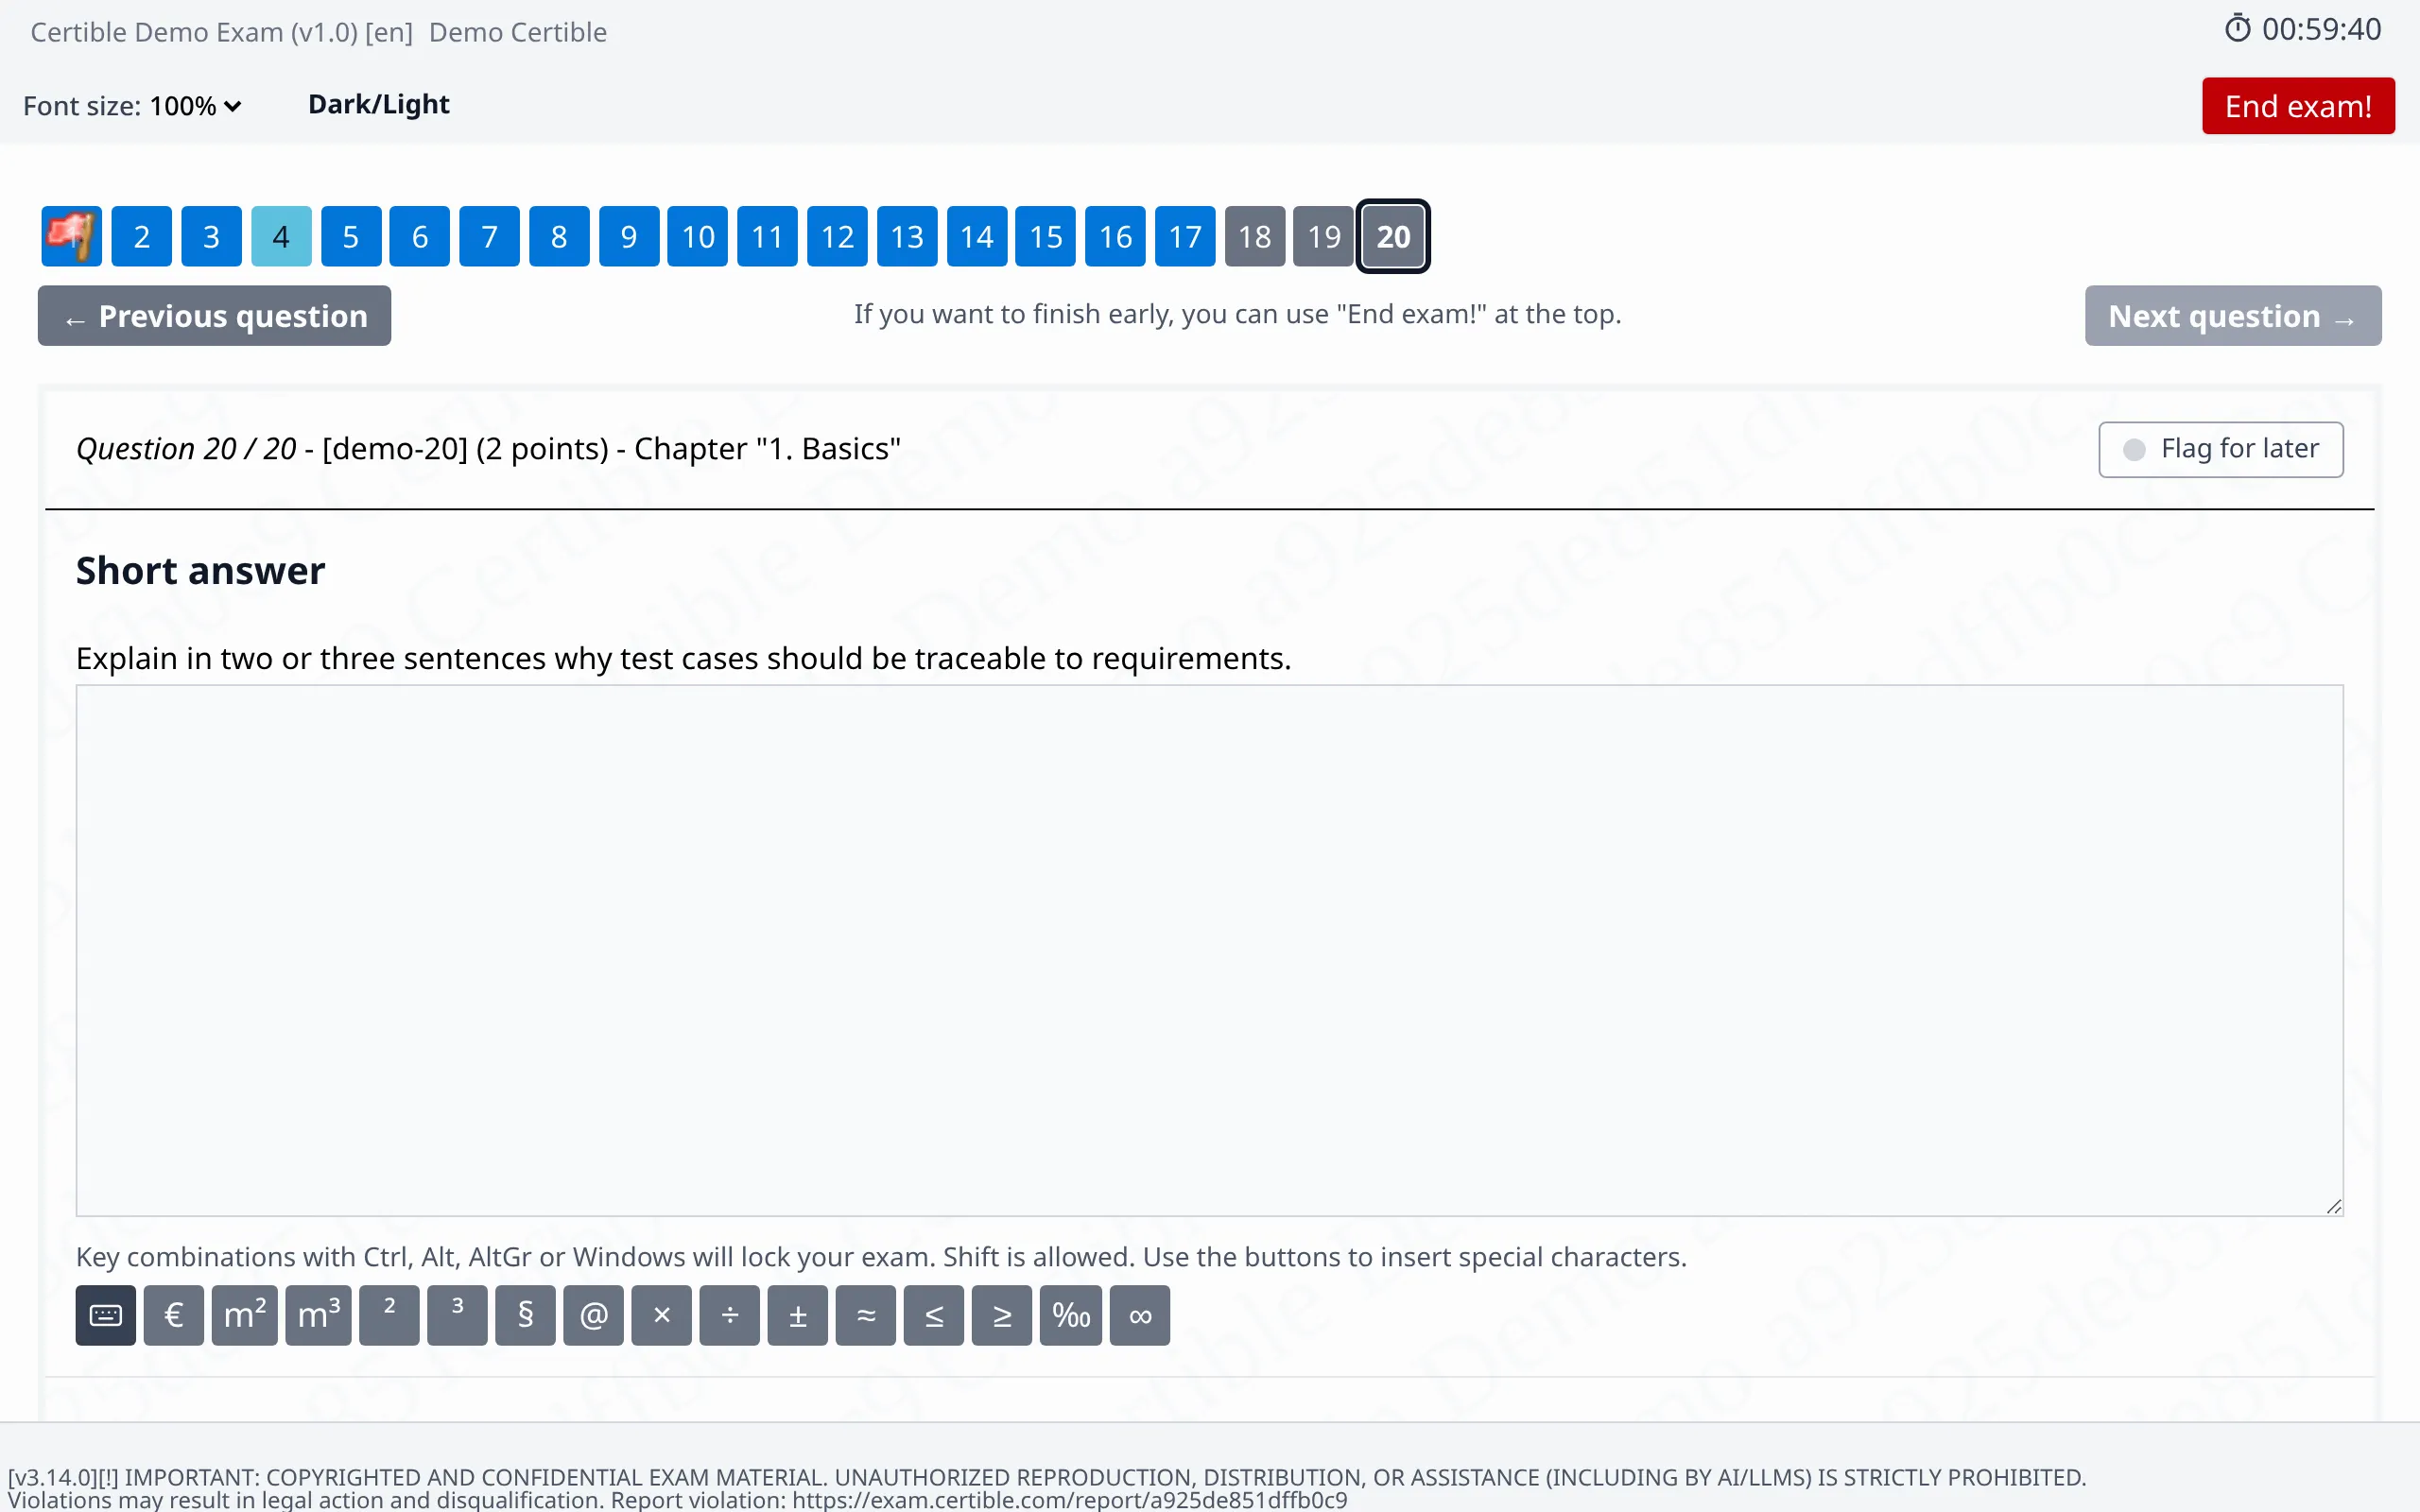
You type your answer into a text field. It is saved automatically. Key combinations with Ctrl, Alt, AltGr or the Windows key (on a Mac with Ctrl, Option or Cmd) lock the exam, Shift works as usual. For special characters that need such a combination, click the keyboard button below the text field and insert them with the buttons.
Questions with an Image
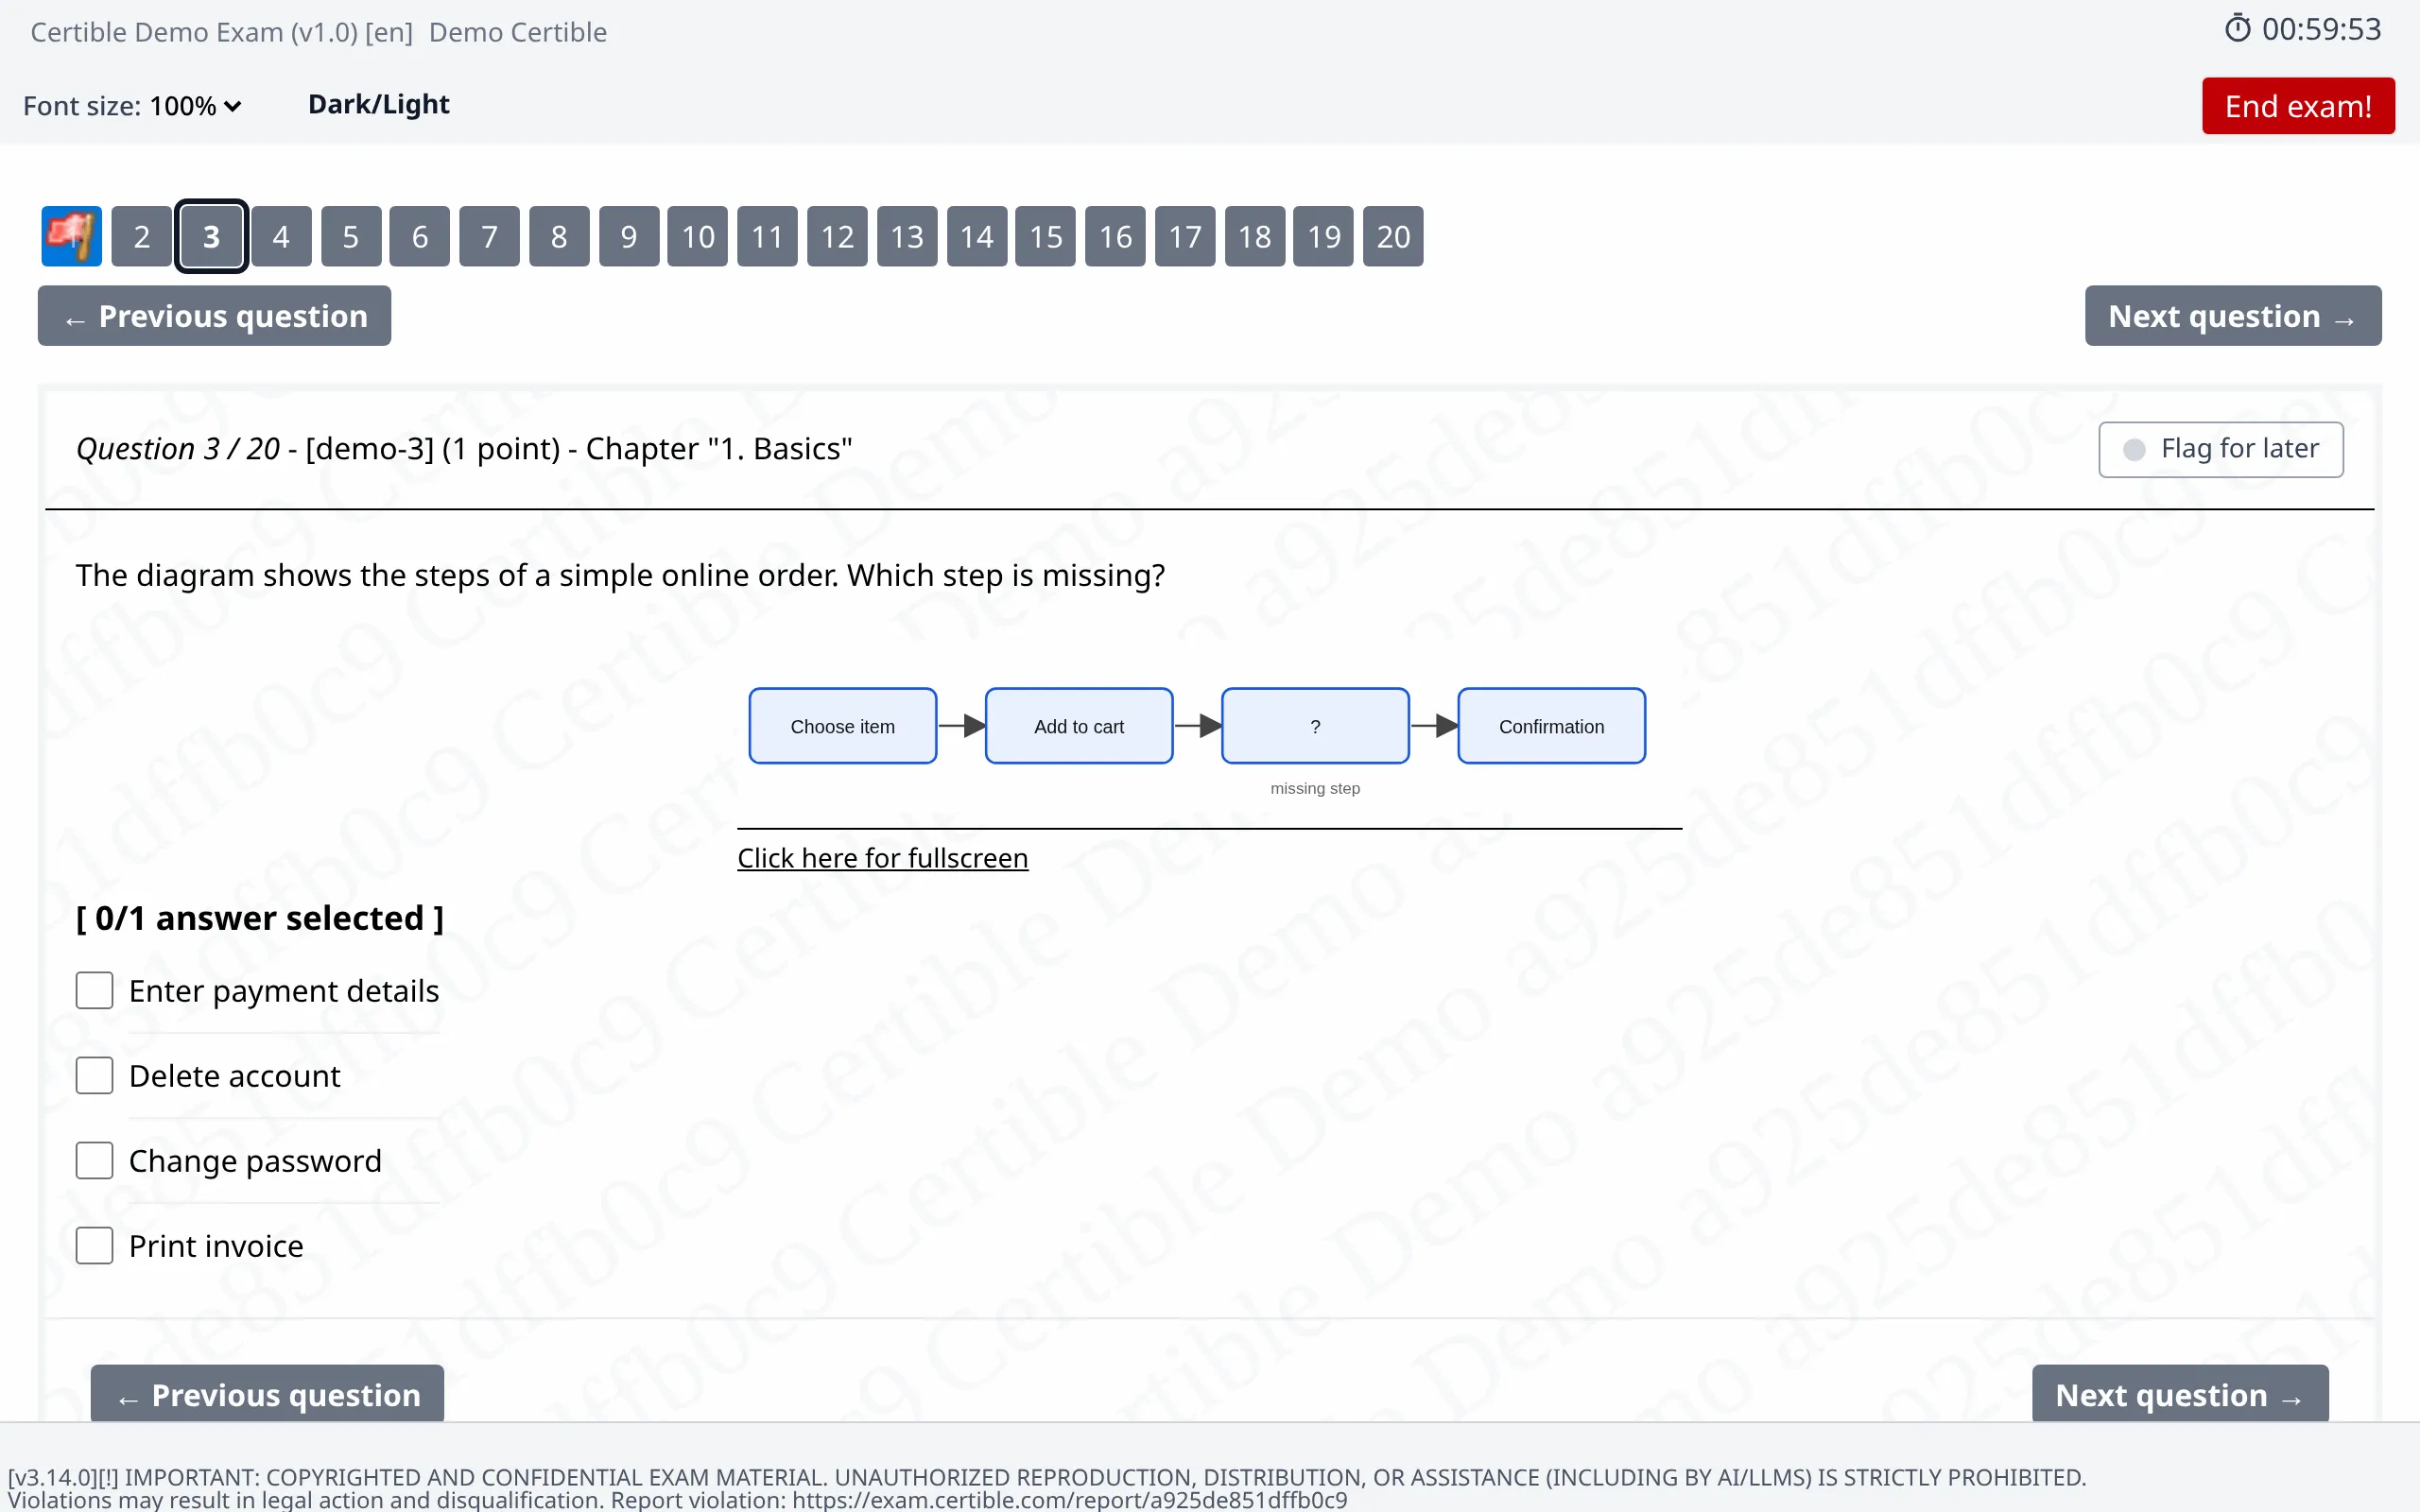
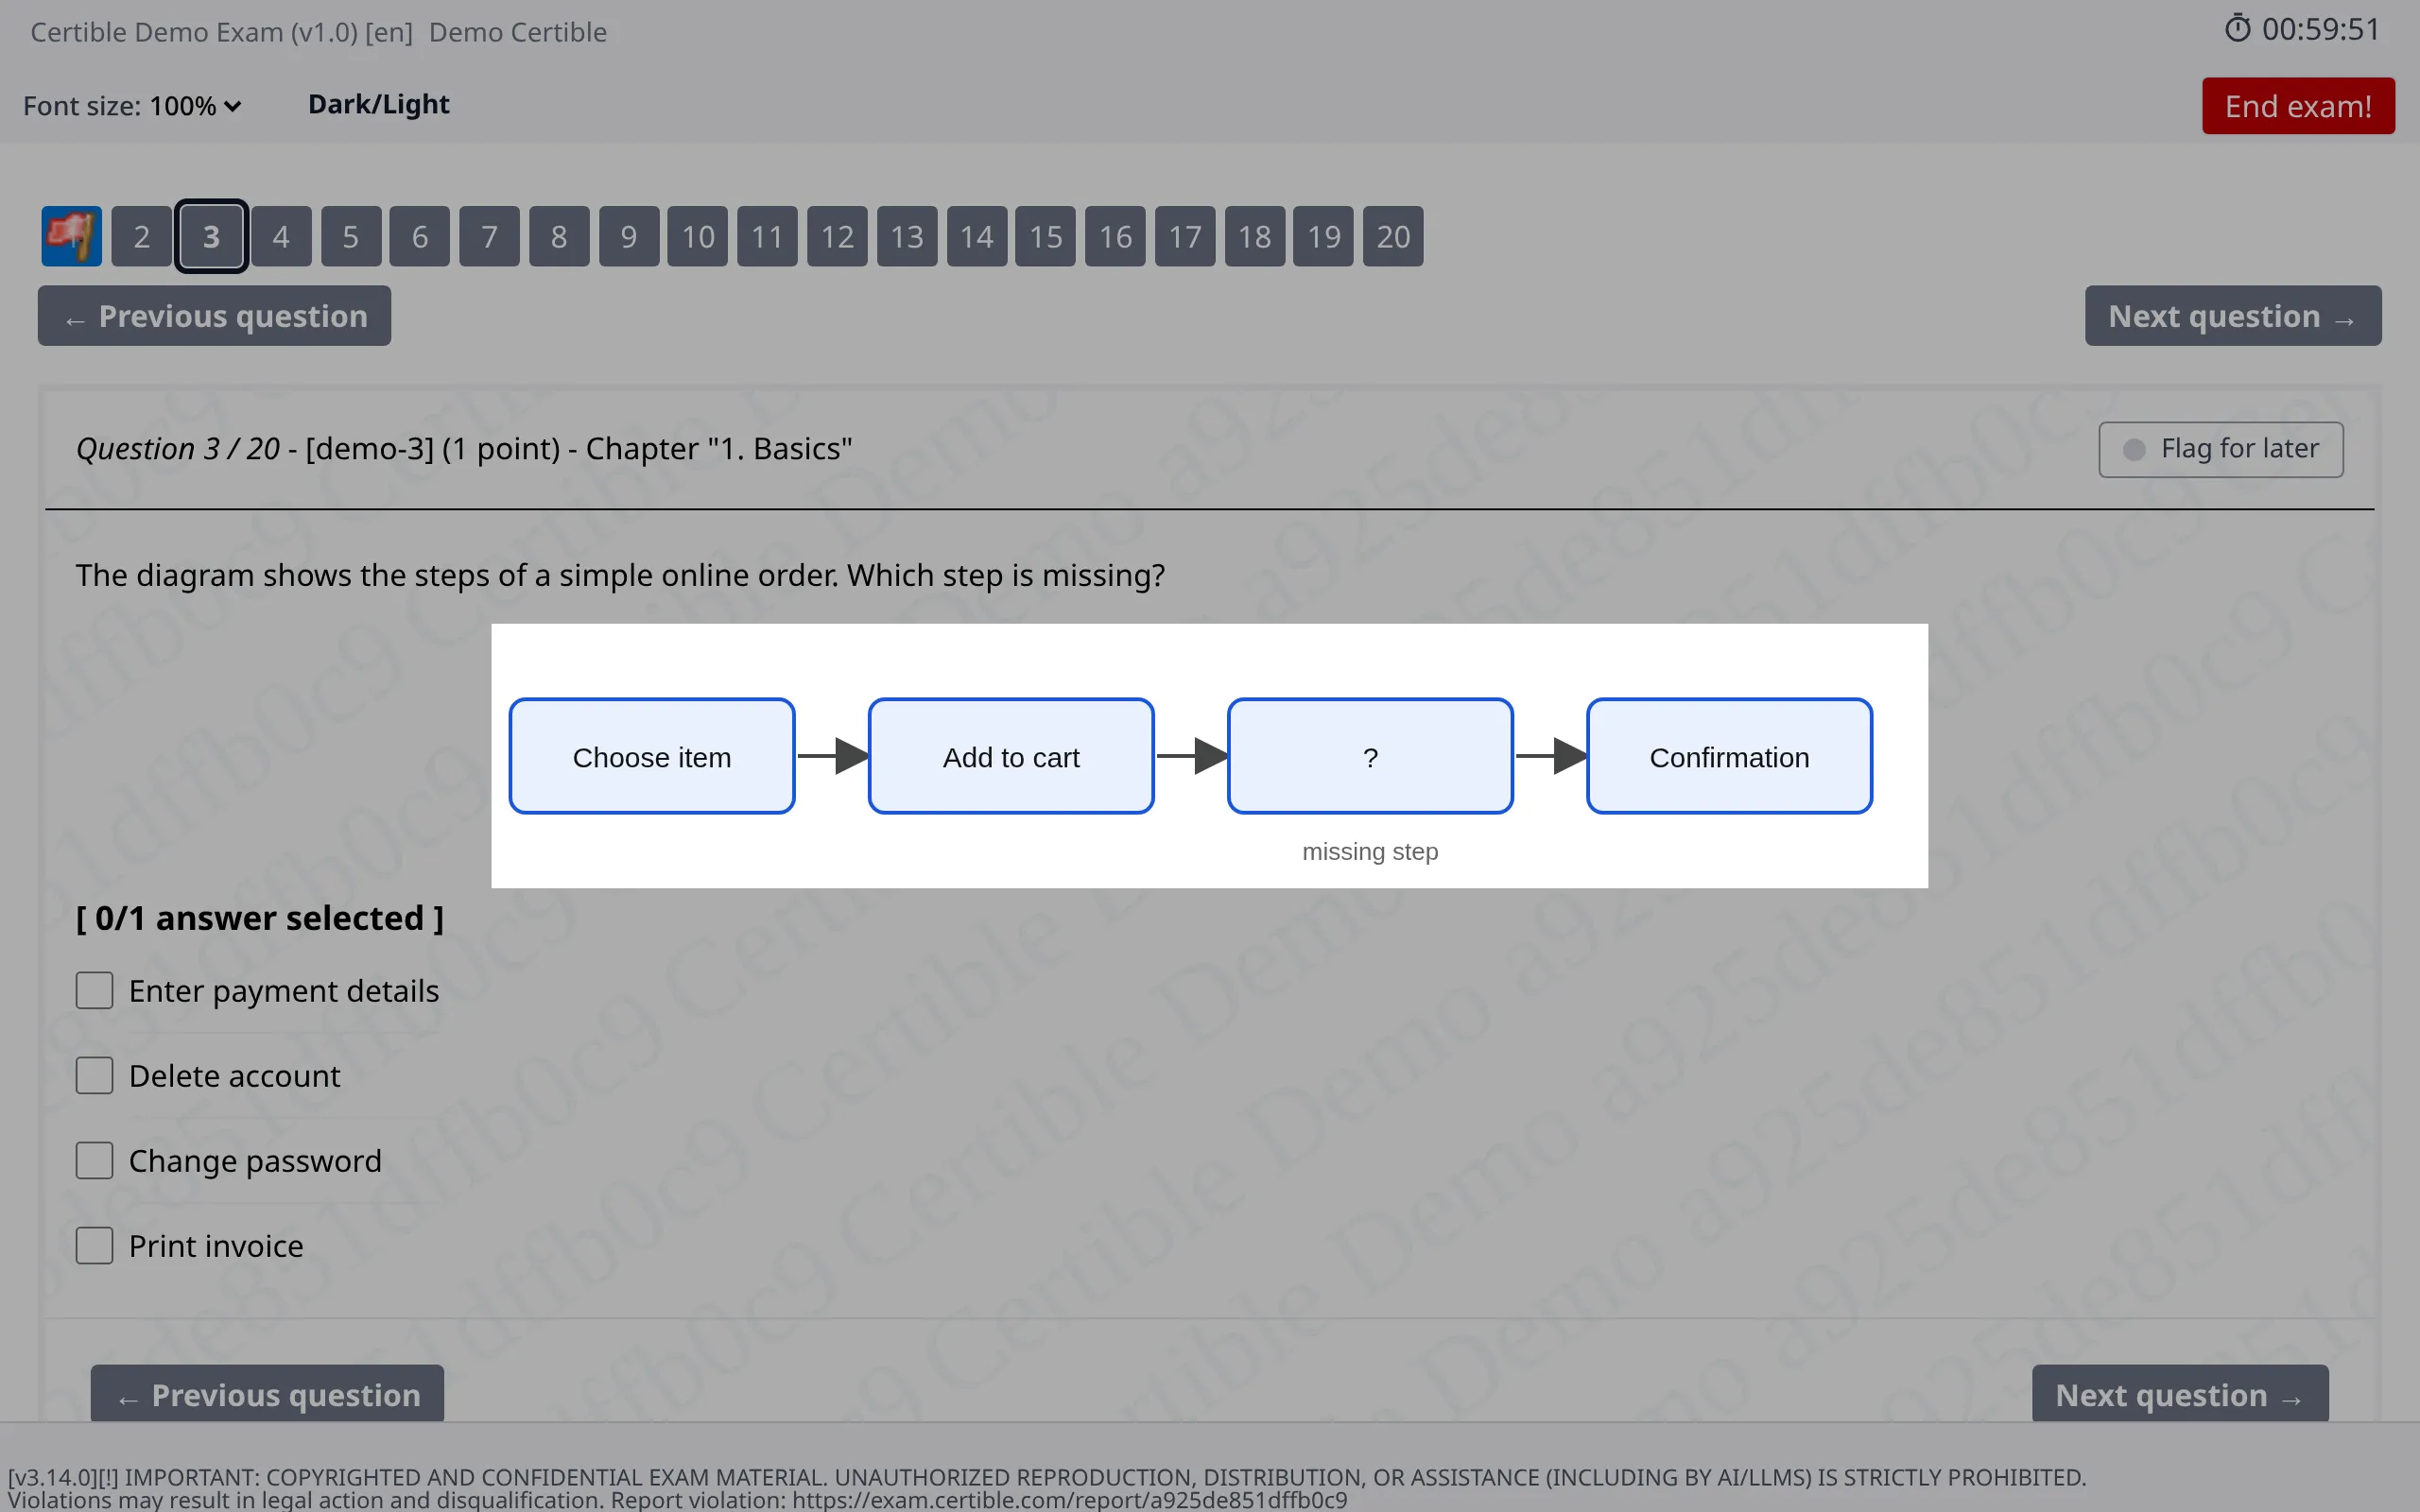
Click “Click here for fullscreen” below the image to enlarge it. Click outside the image to close it again.
Documents
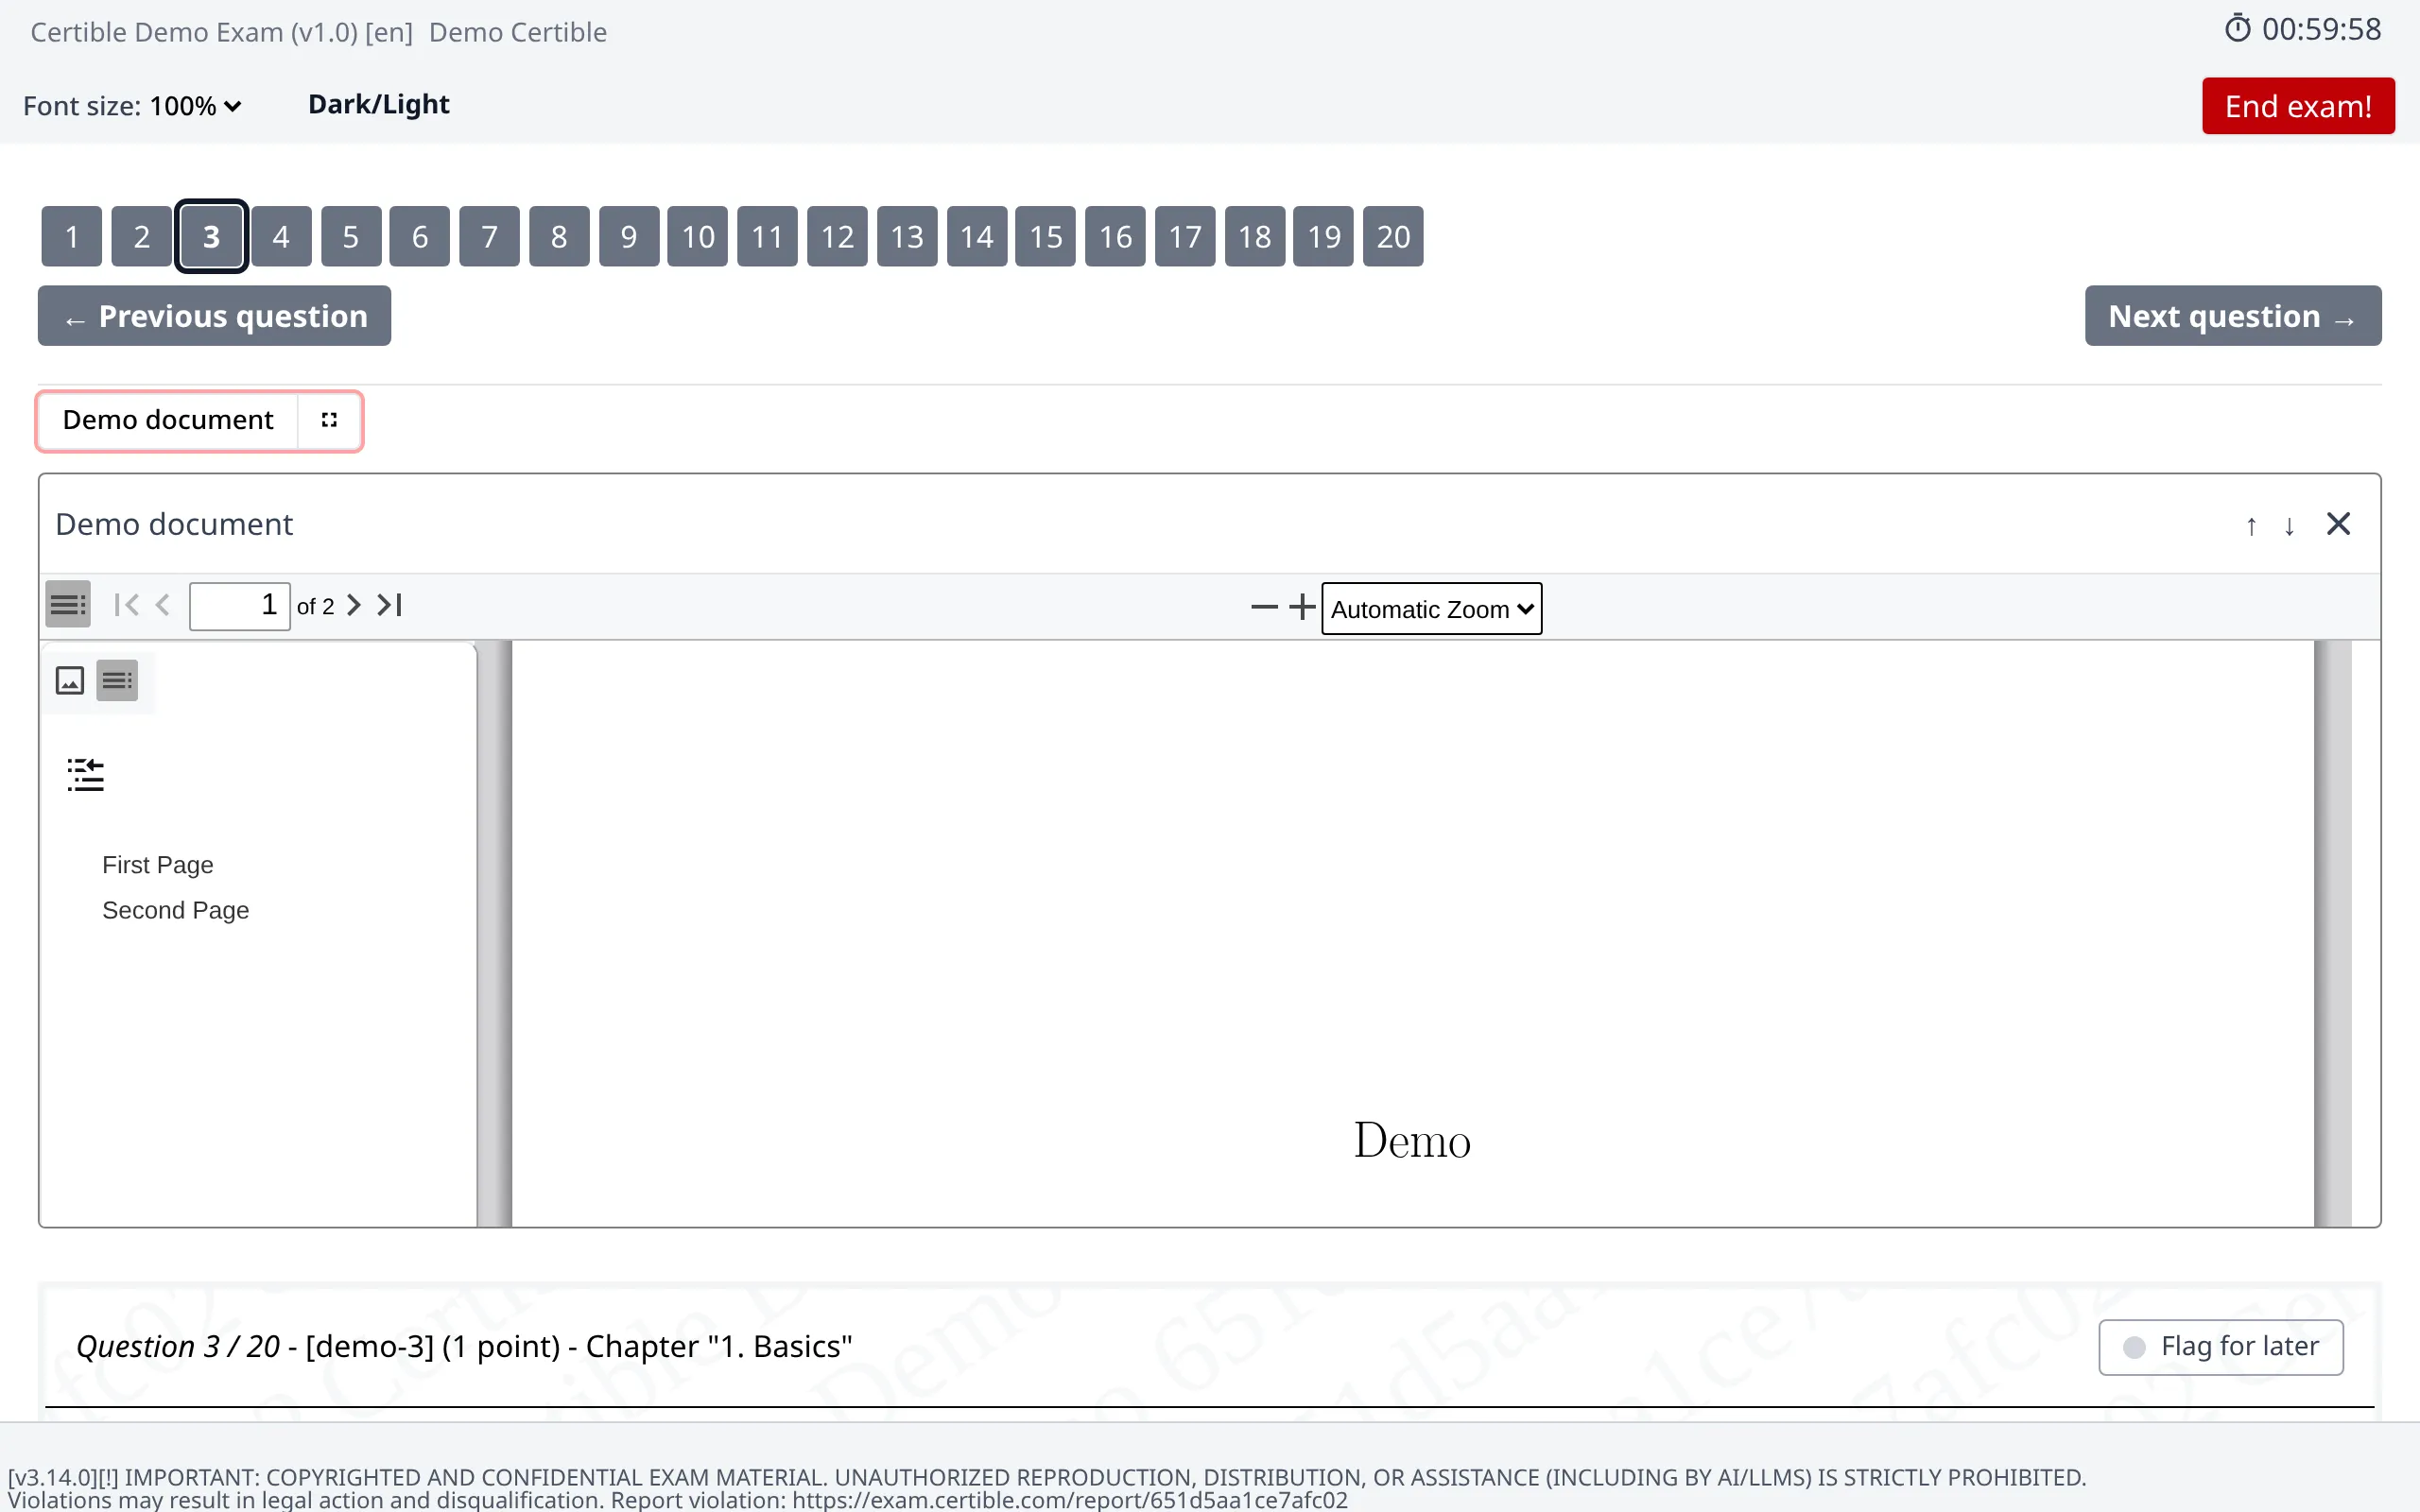
Some exams come with documents, for example a PDF. You find them as buttons above the question. Click the name to open the document above the question, or the icon next to it to open it in a large window. The X closes it again.
Font Size and Dark Mode
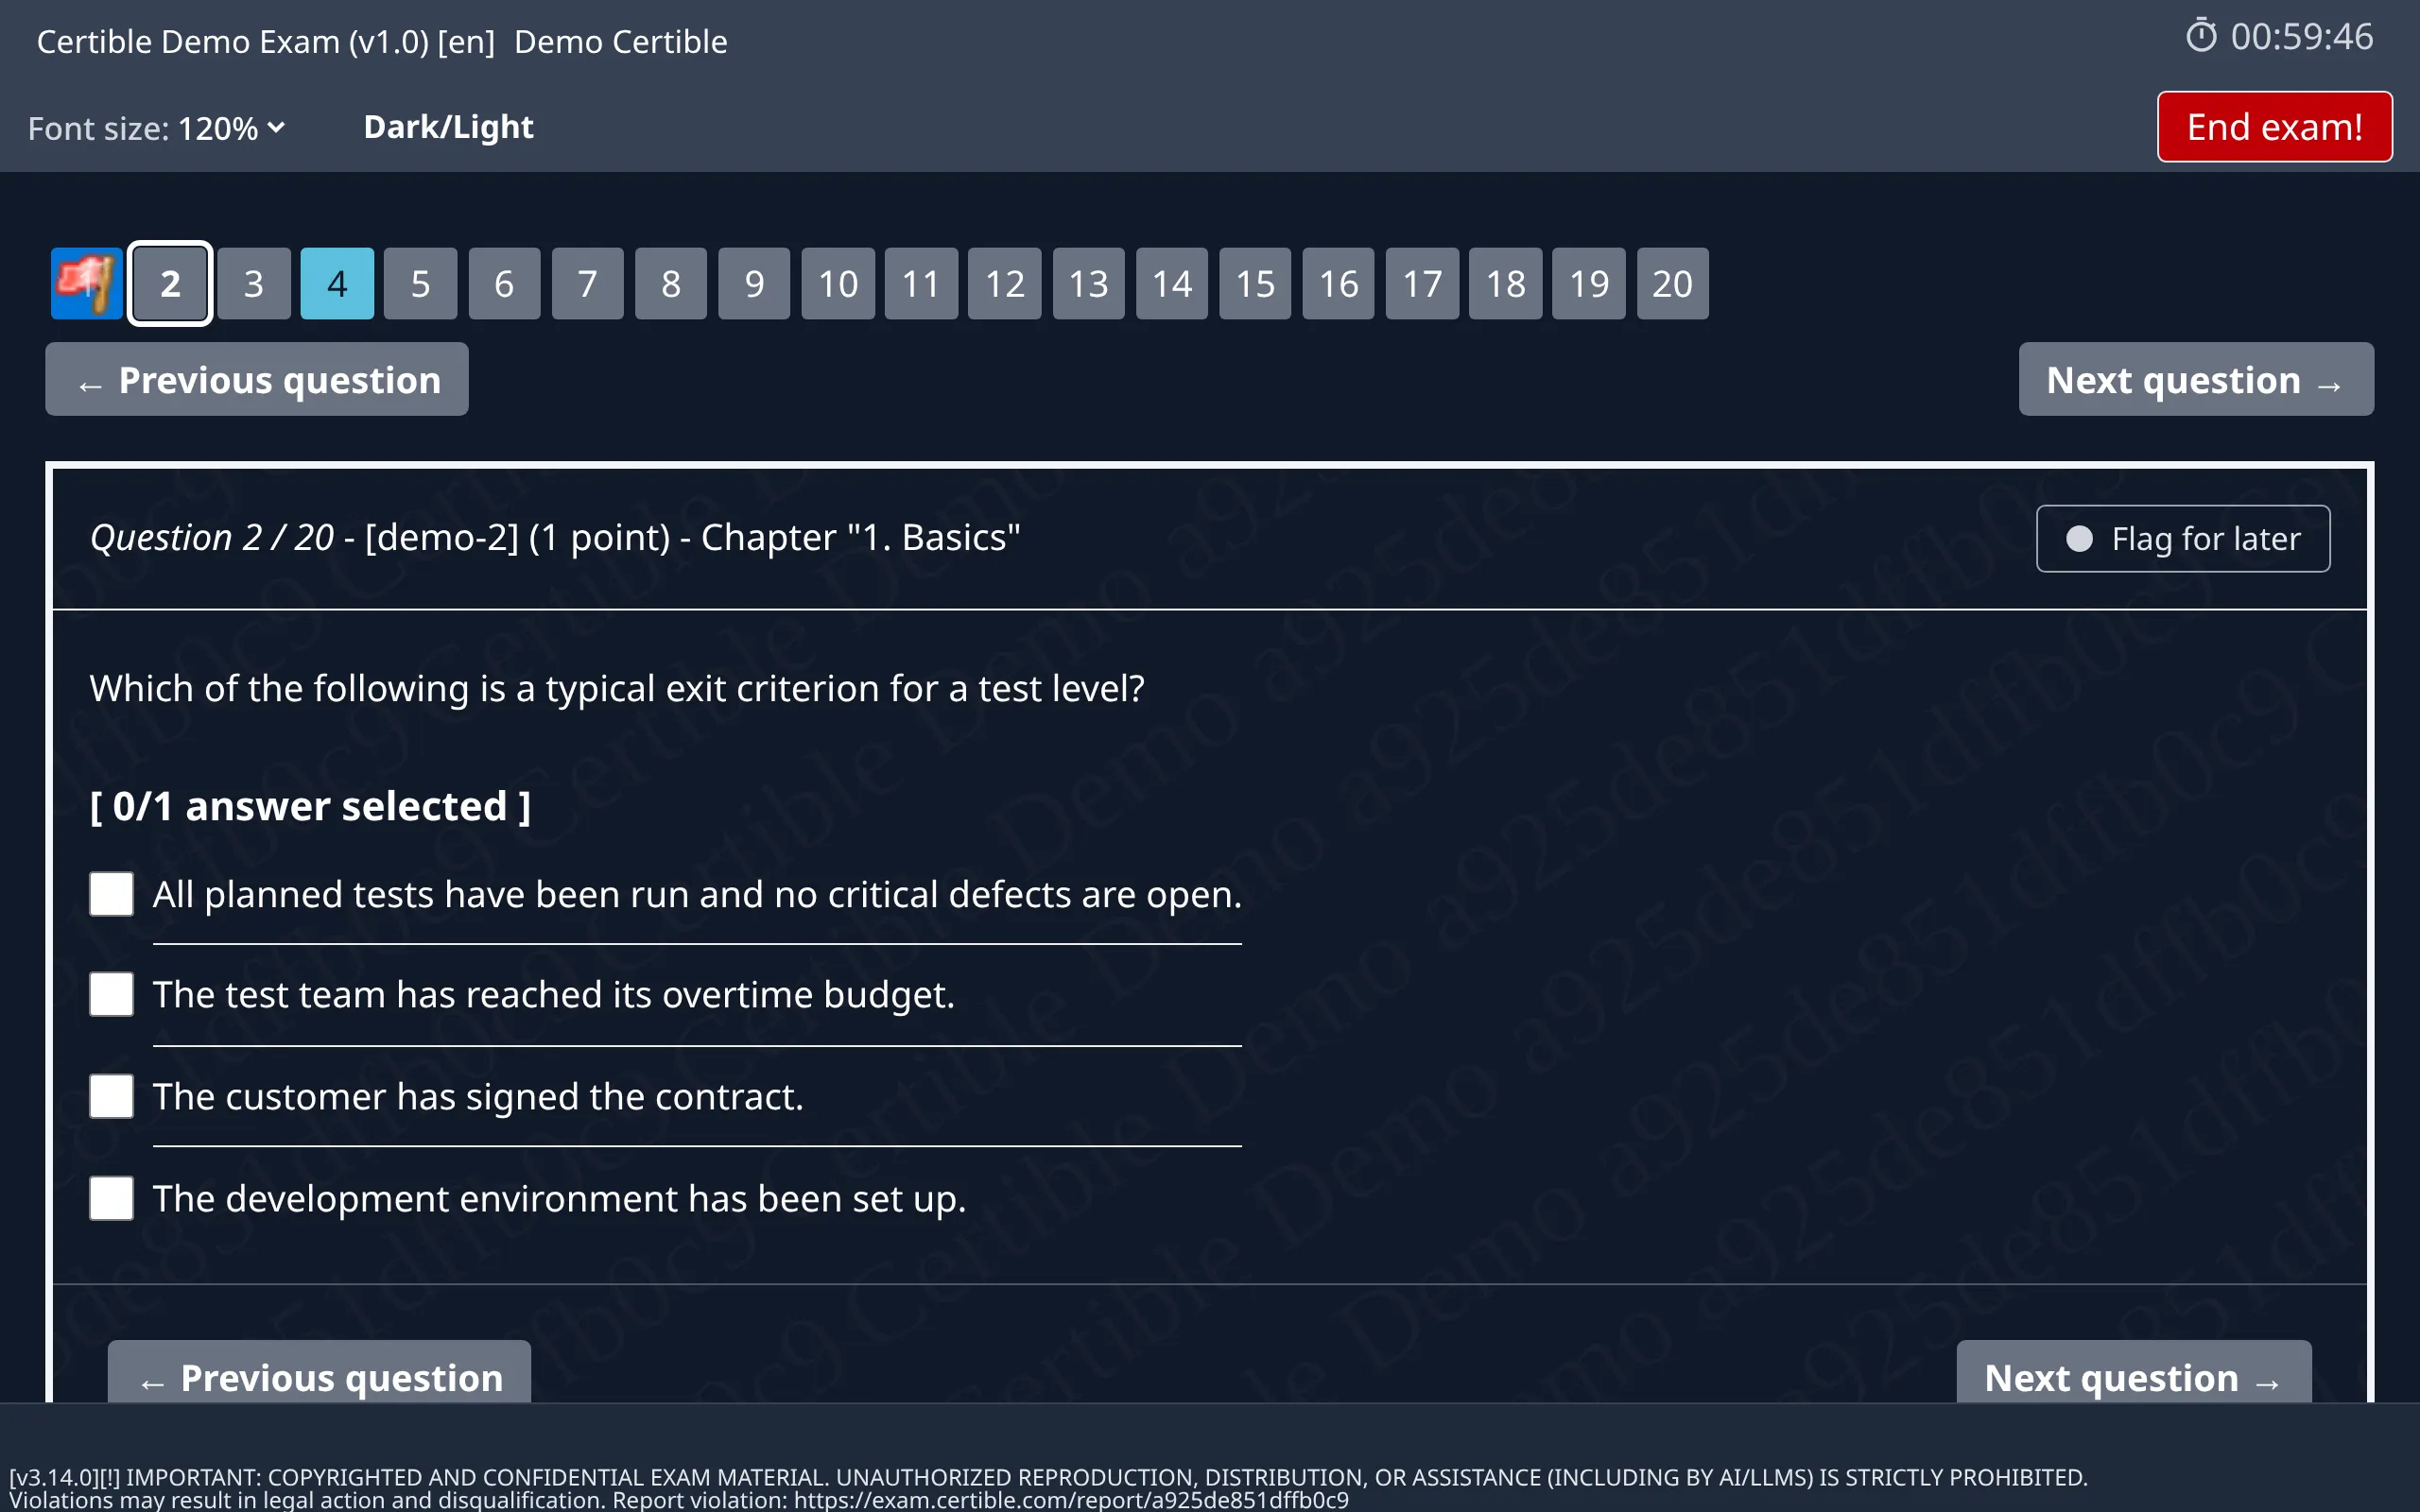
Use “Font size” and “Dark/Light” in the toolbar to adjust the display.
Video and Chat
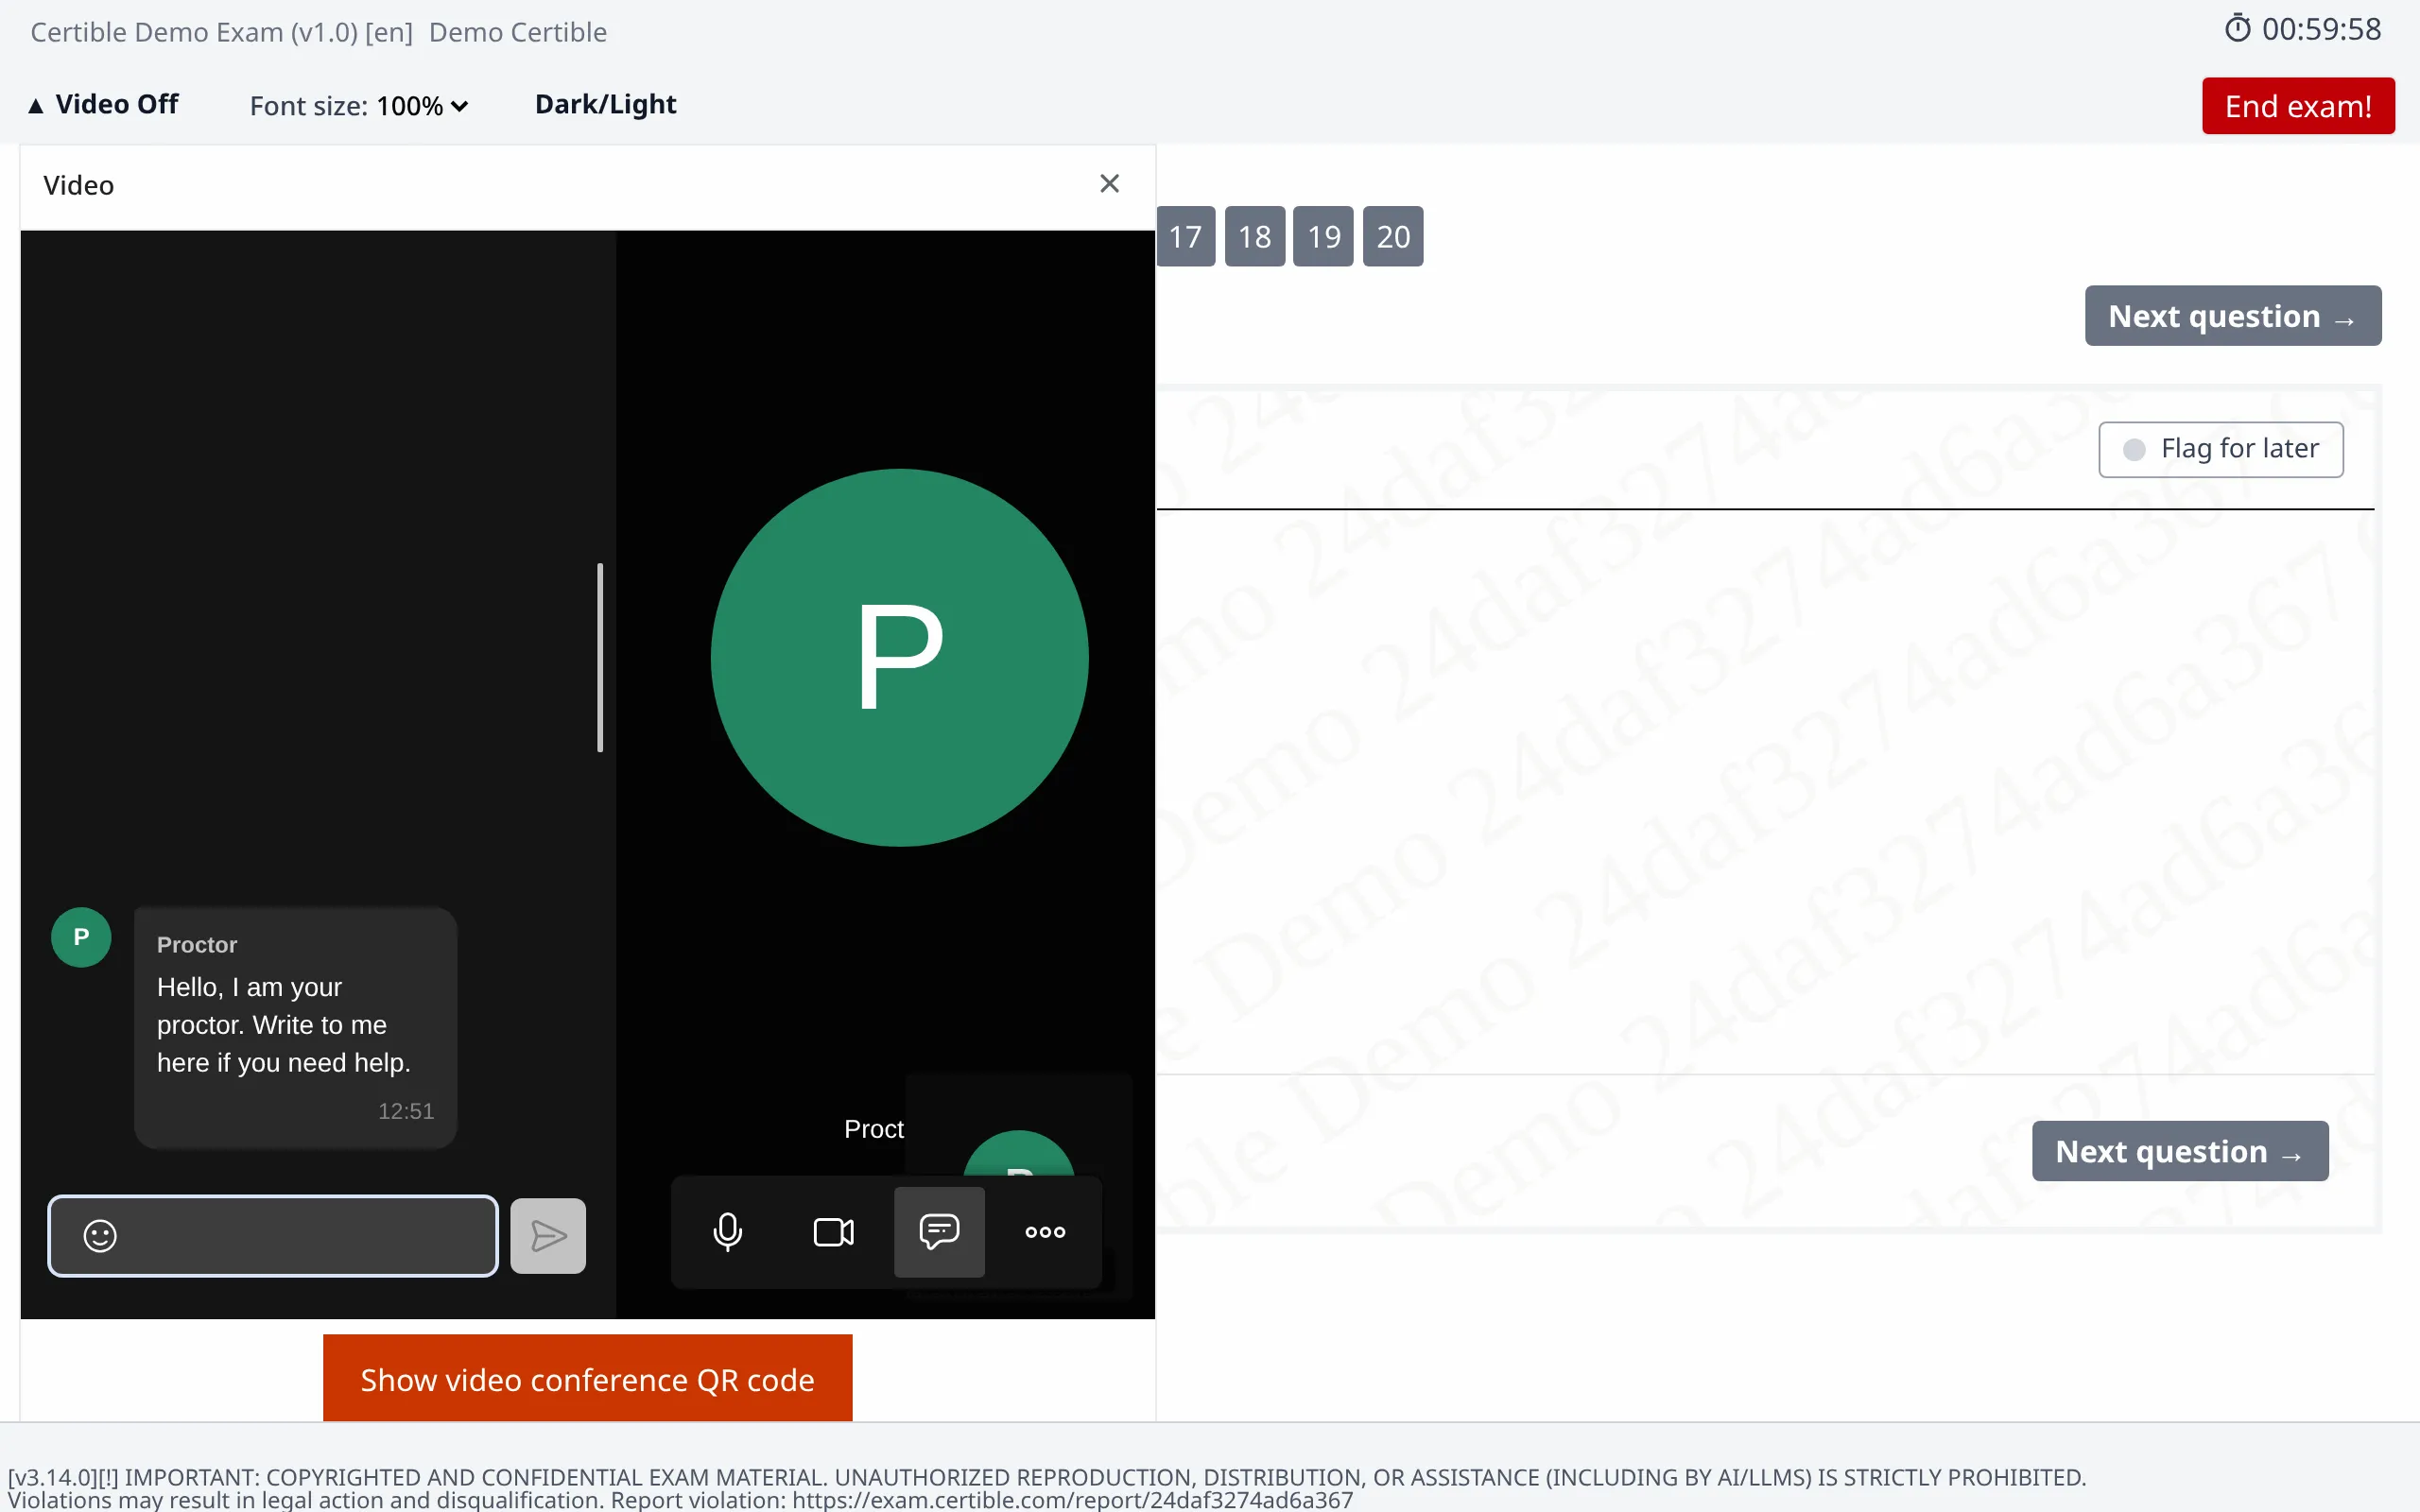
The proctor can always hear you, so just talk to them if you need help. Click “Video On” in the toolbar to open the video window and “Video Off” to close it. The chat is inside the video window. Open it with the speech bubble button at the bottom of the video. Messages from the proctor show up there.
Exam Locked
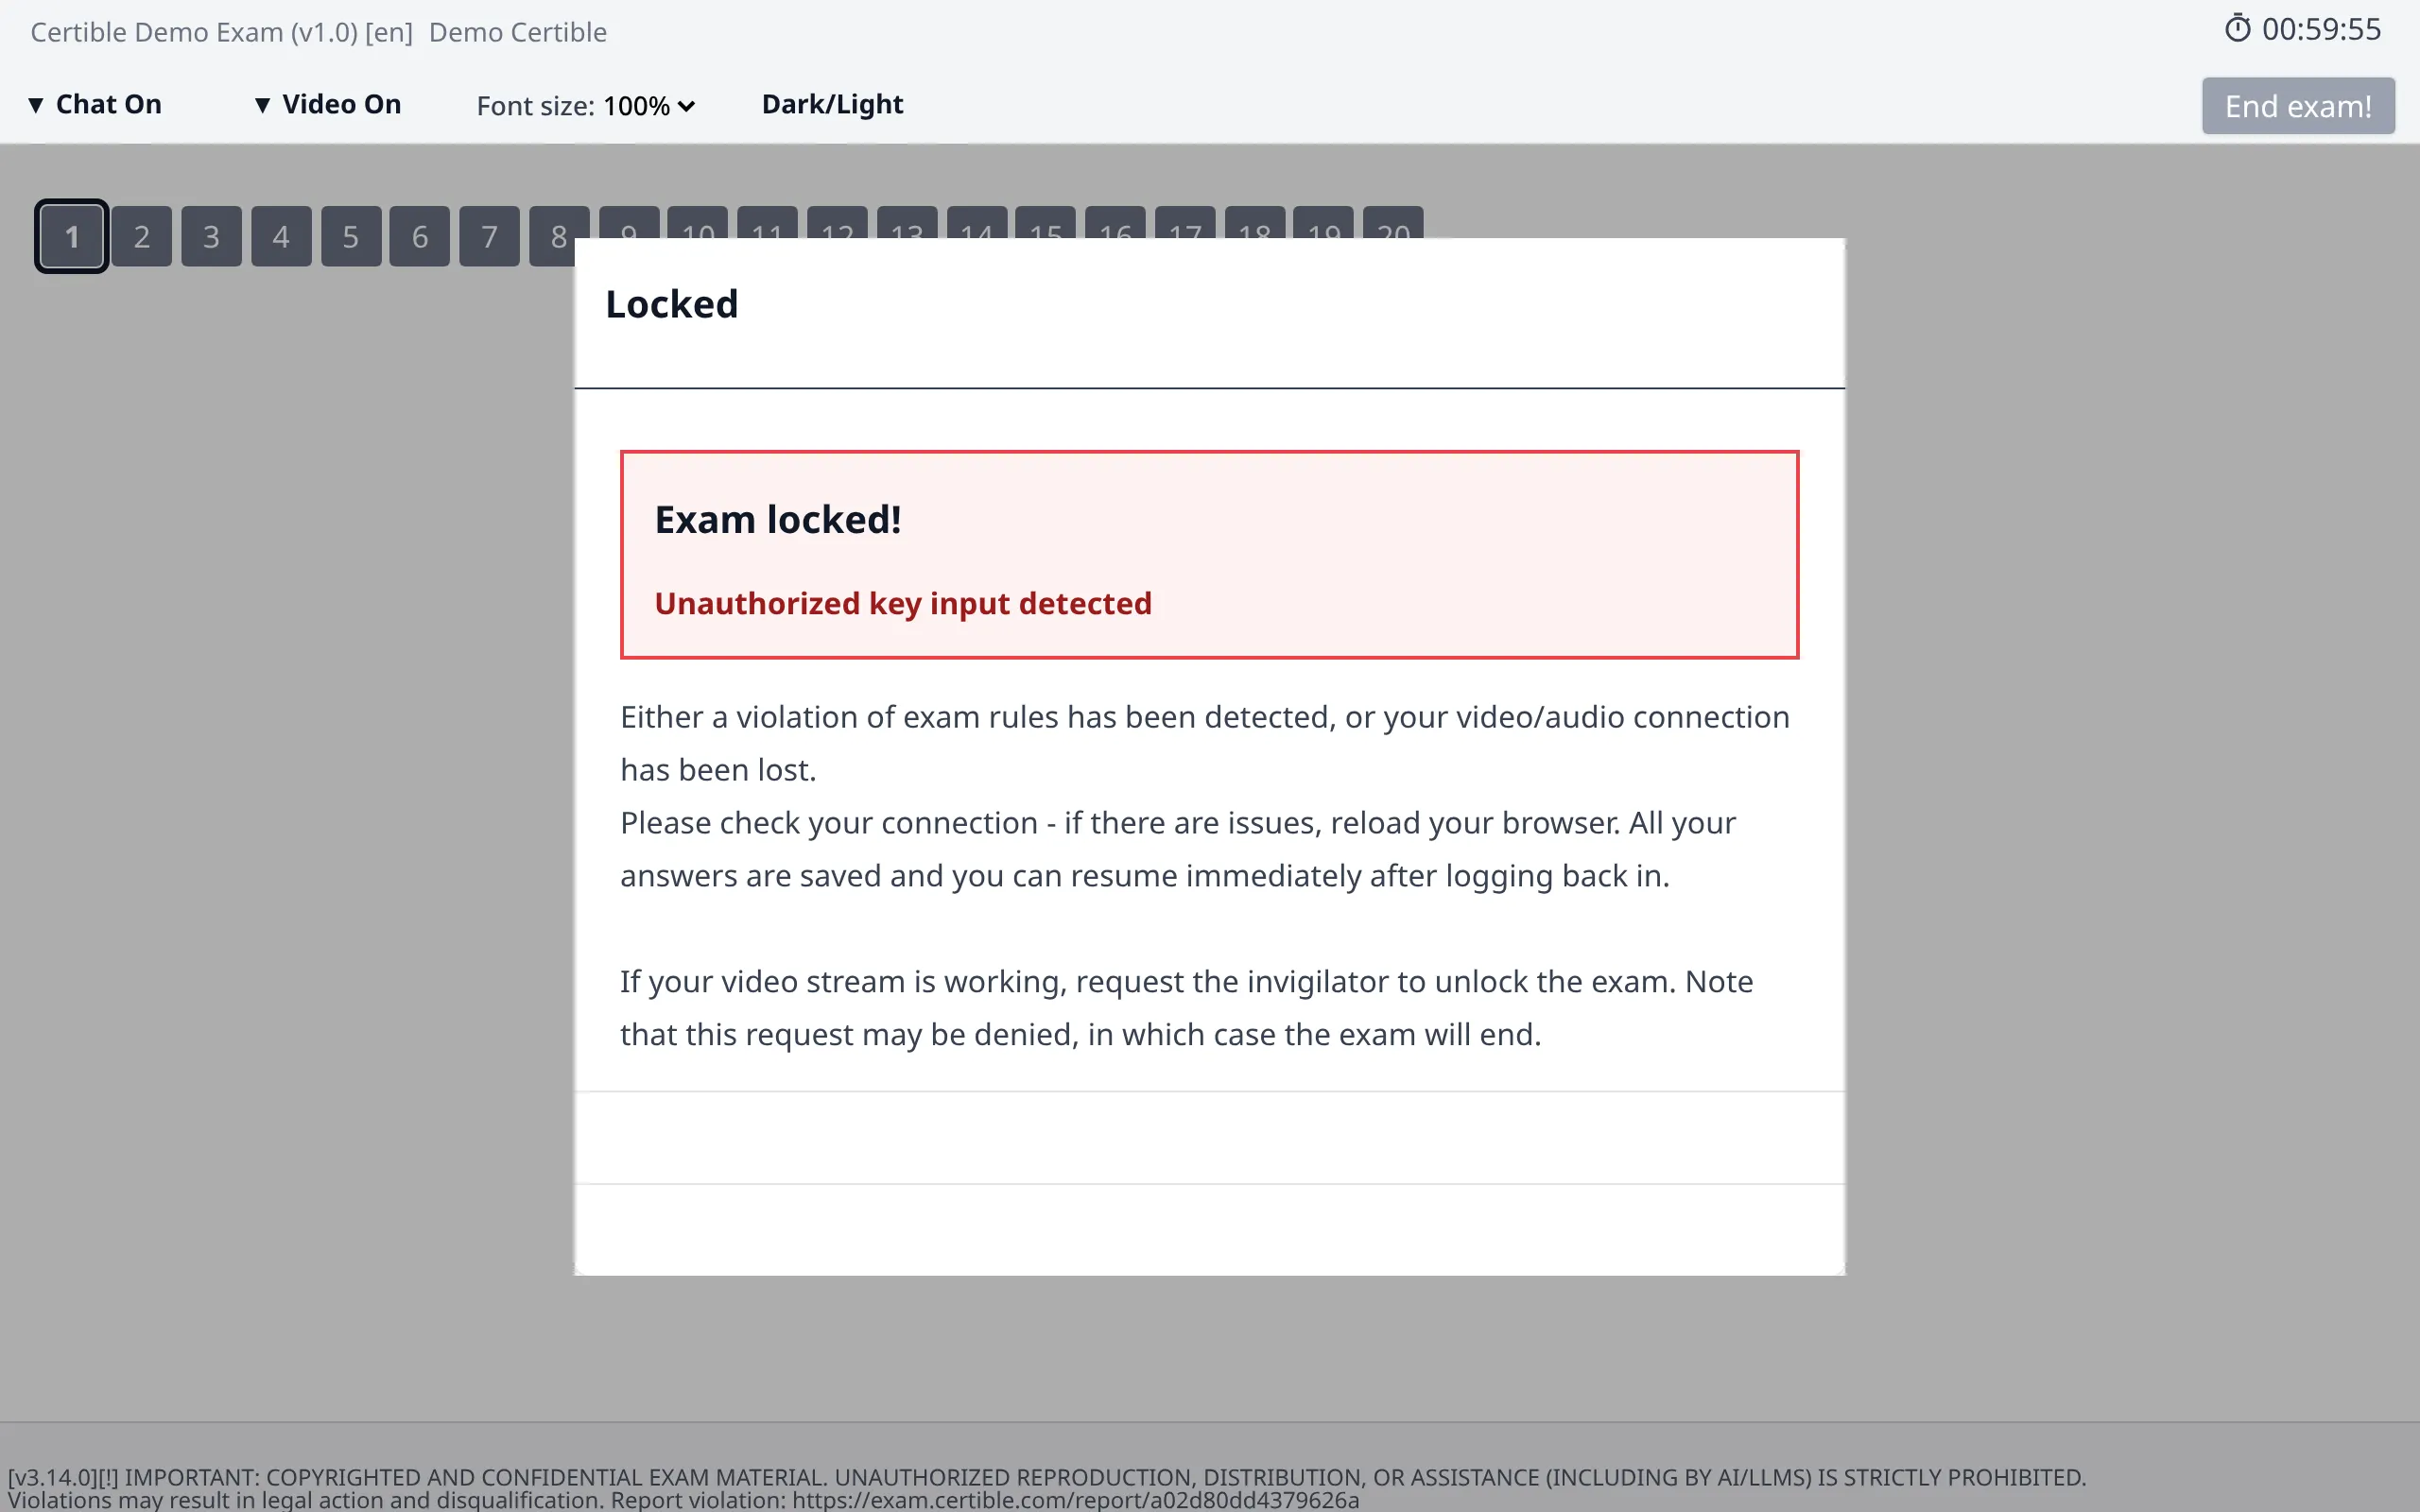
The exam locks if a rule violation is detected, for example when you leave fullscreen or switch windows, or if your connection drops. Your answers are saved. Wait for the proctor, or reload the page and log in again if your connection was lost.
End of the Exam
Ending the Exam
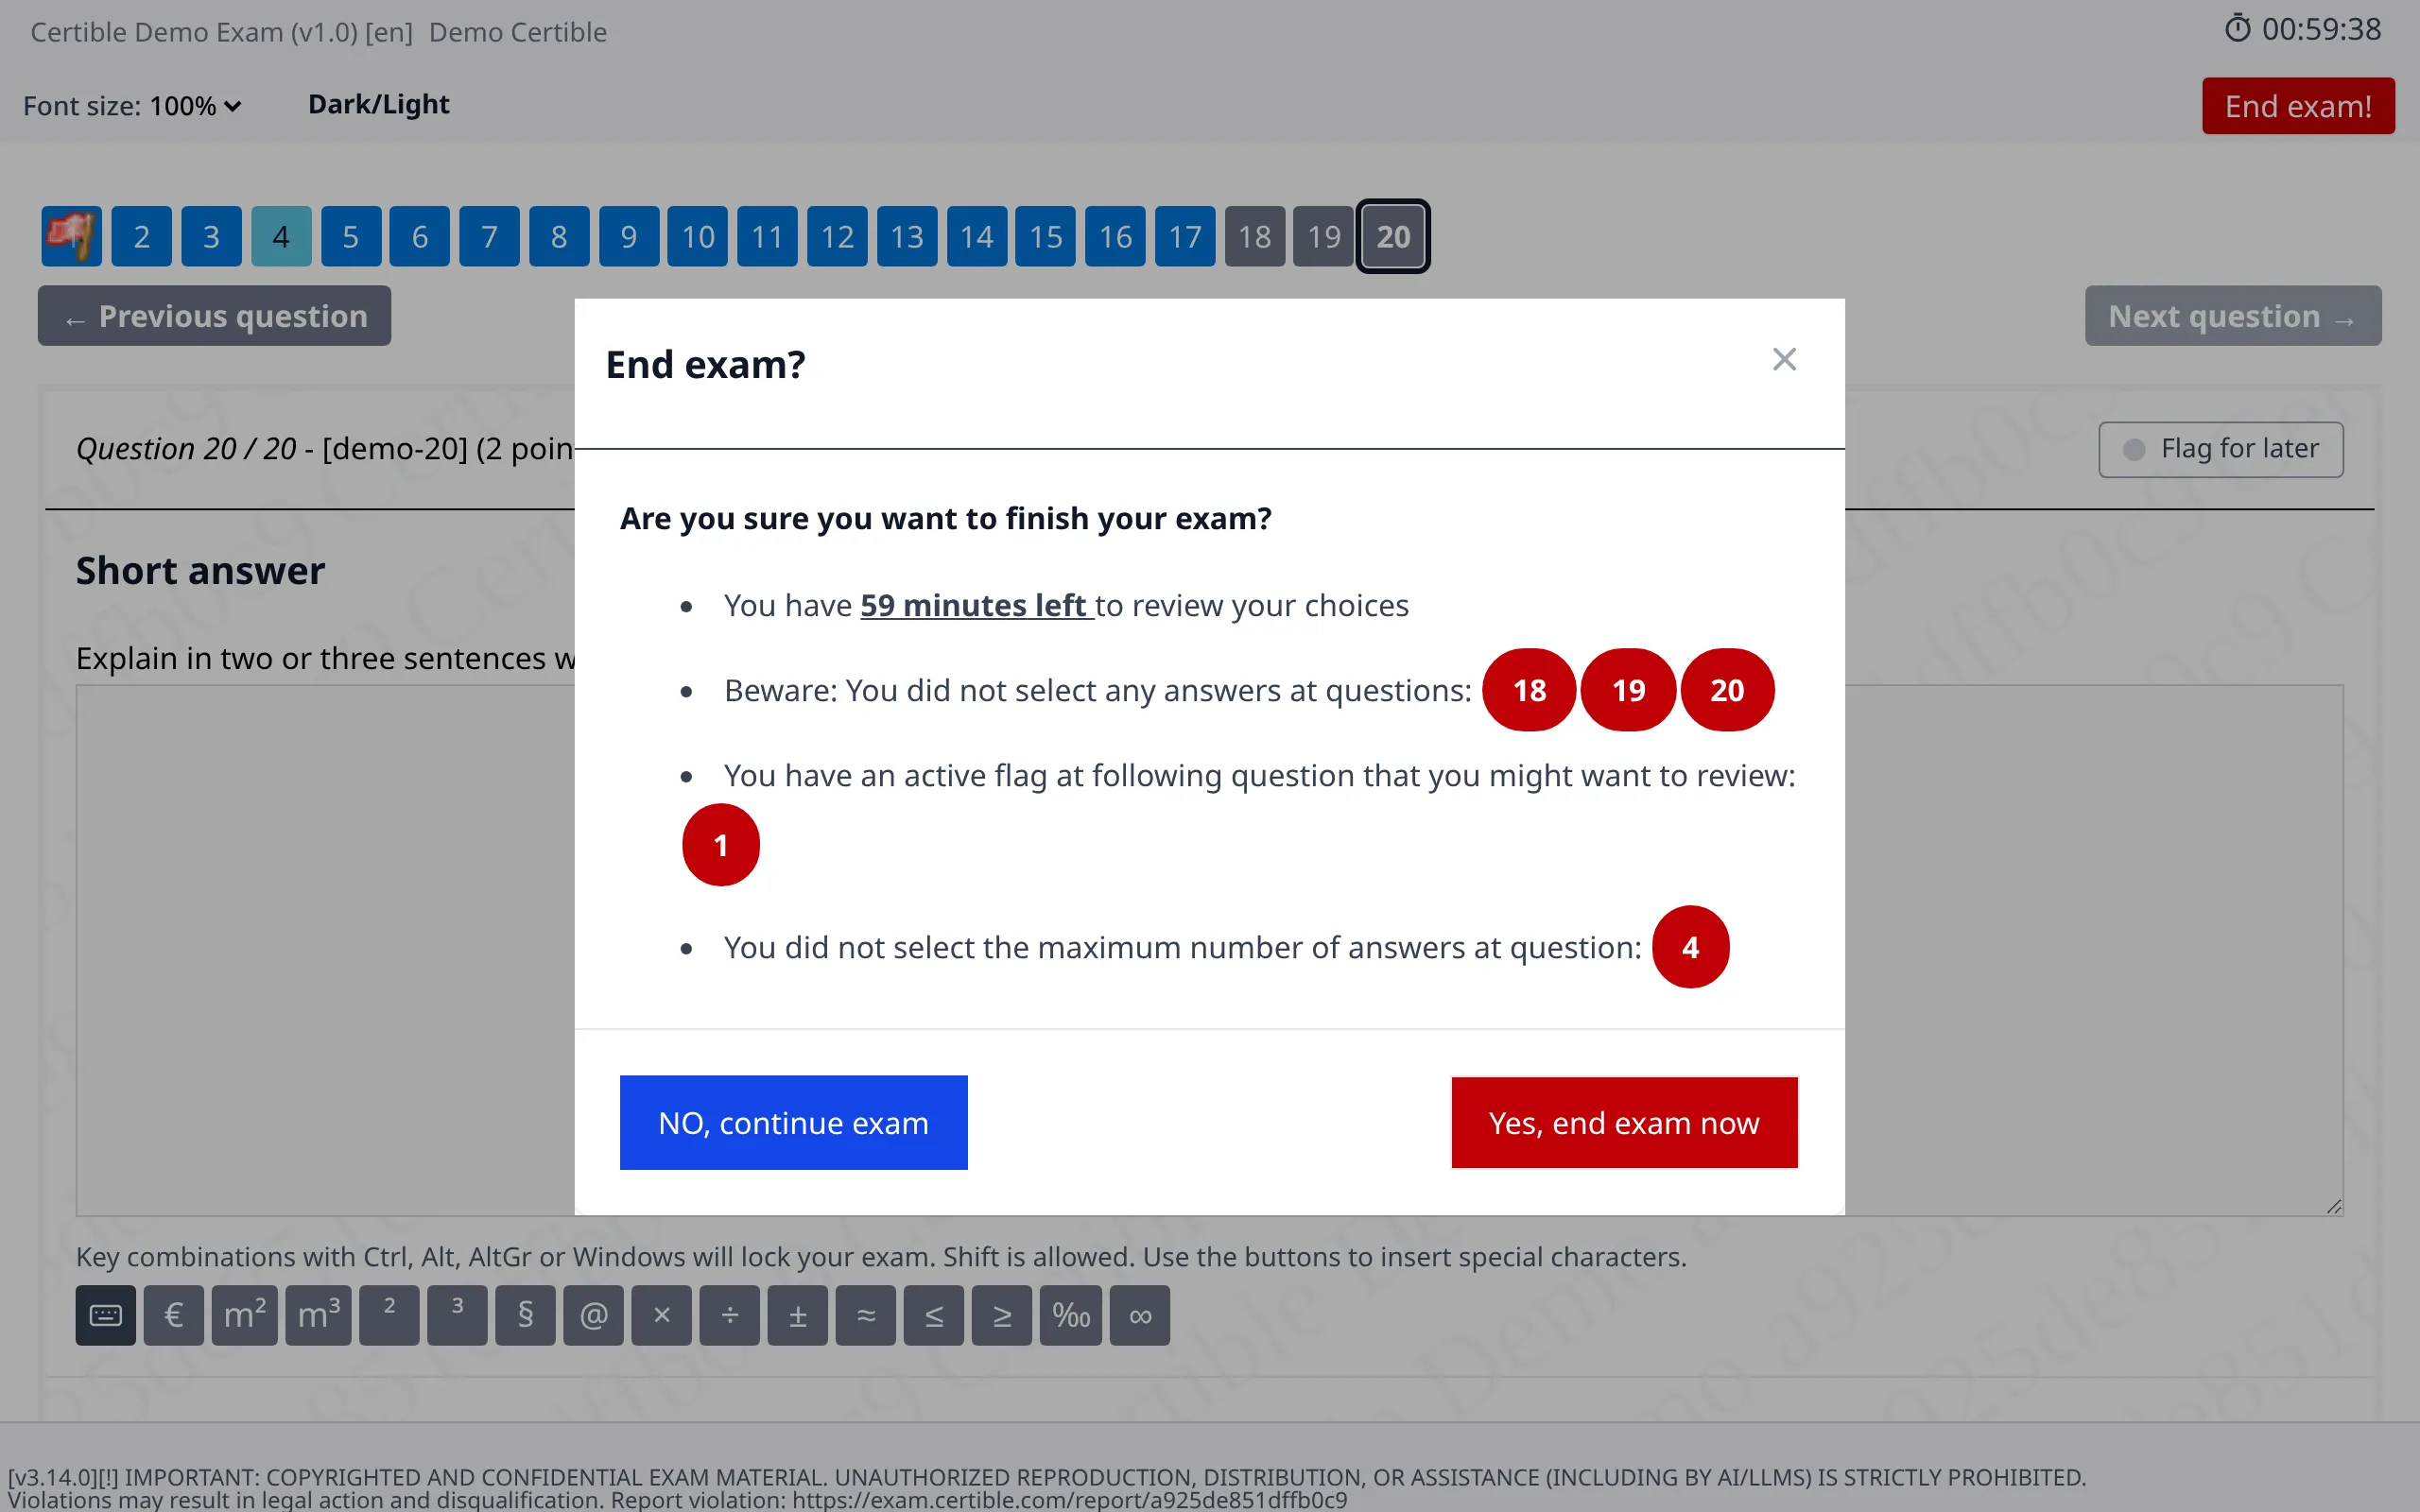
Click “End exam!” when you are done. The dialog lists questions that are unanswered, flagged or incomplete, and you can jump back to them. If the time runs out, the exam ends automatically.
Results and Survey
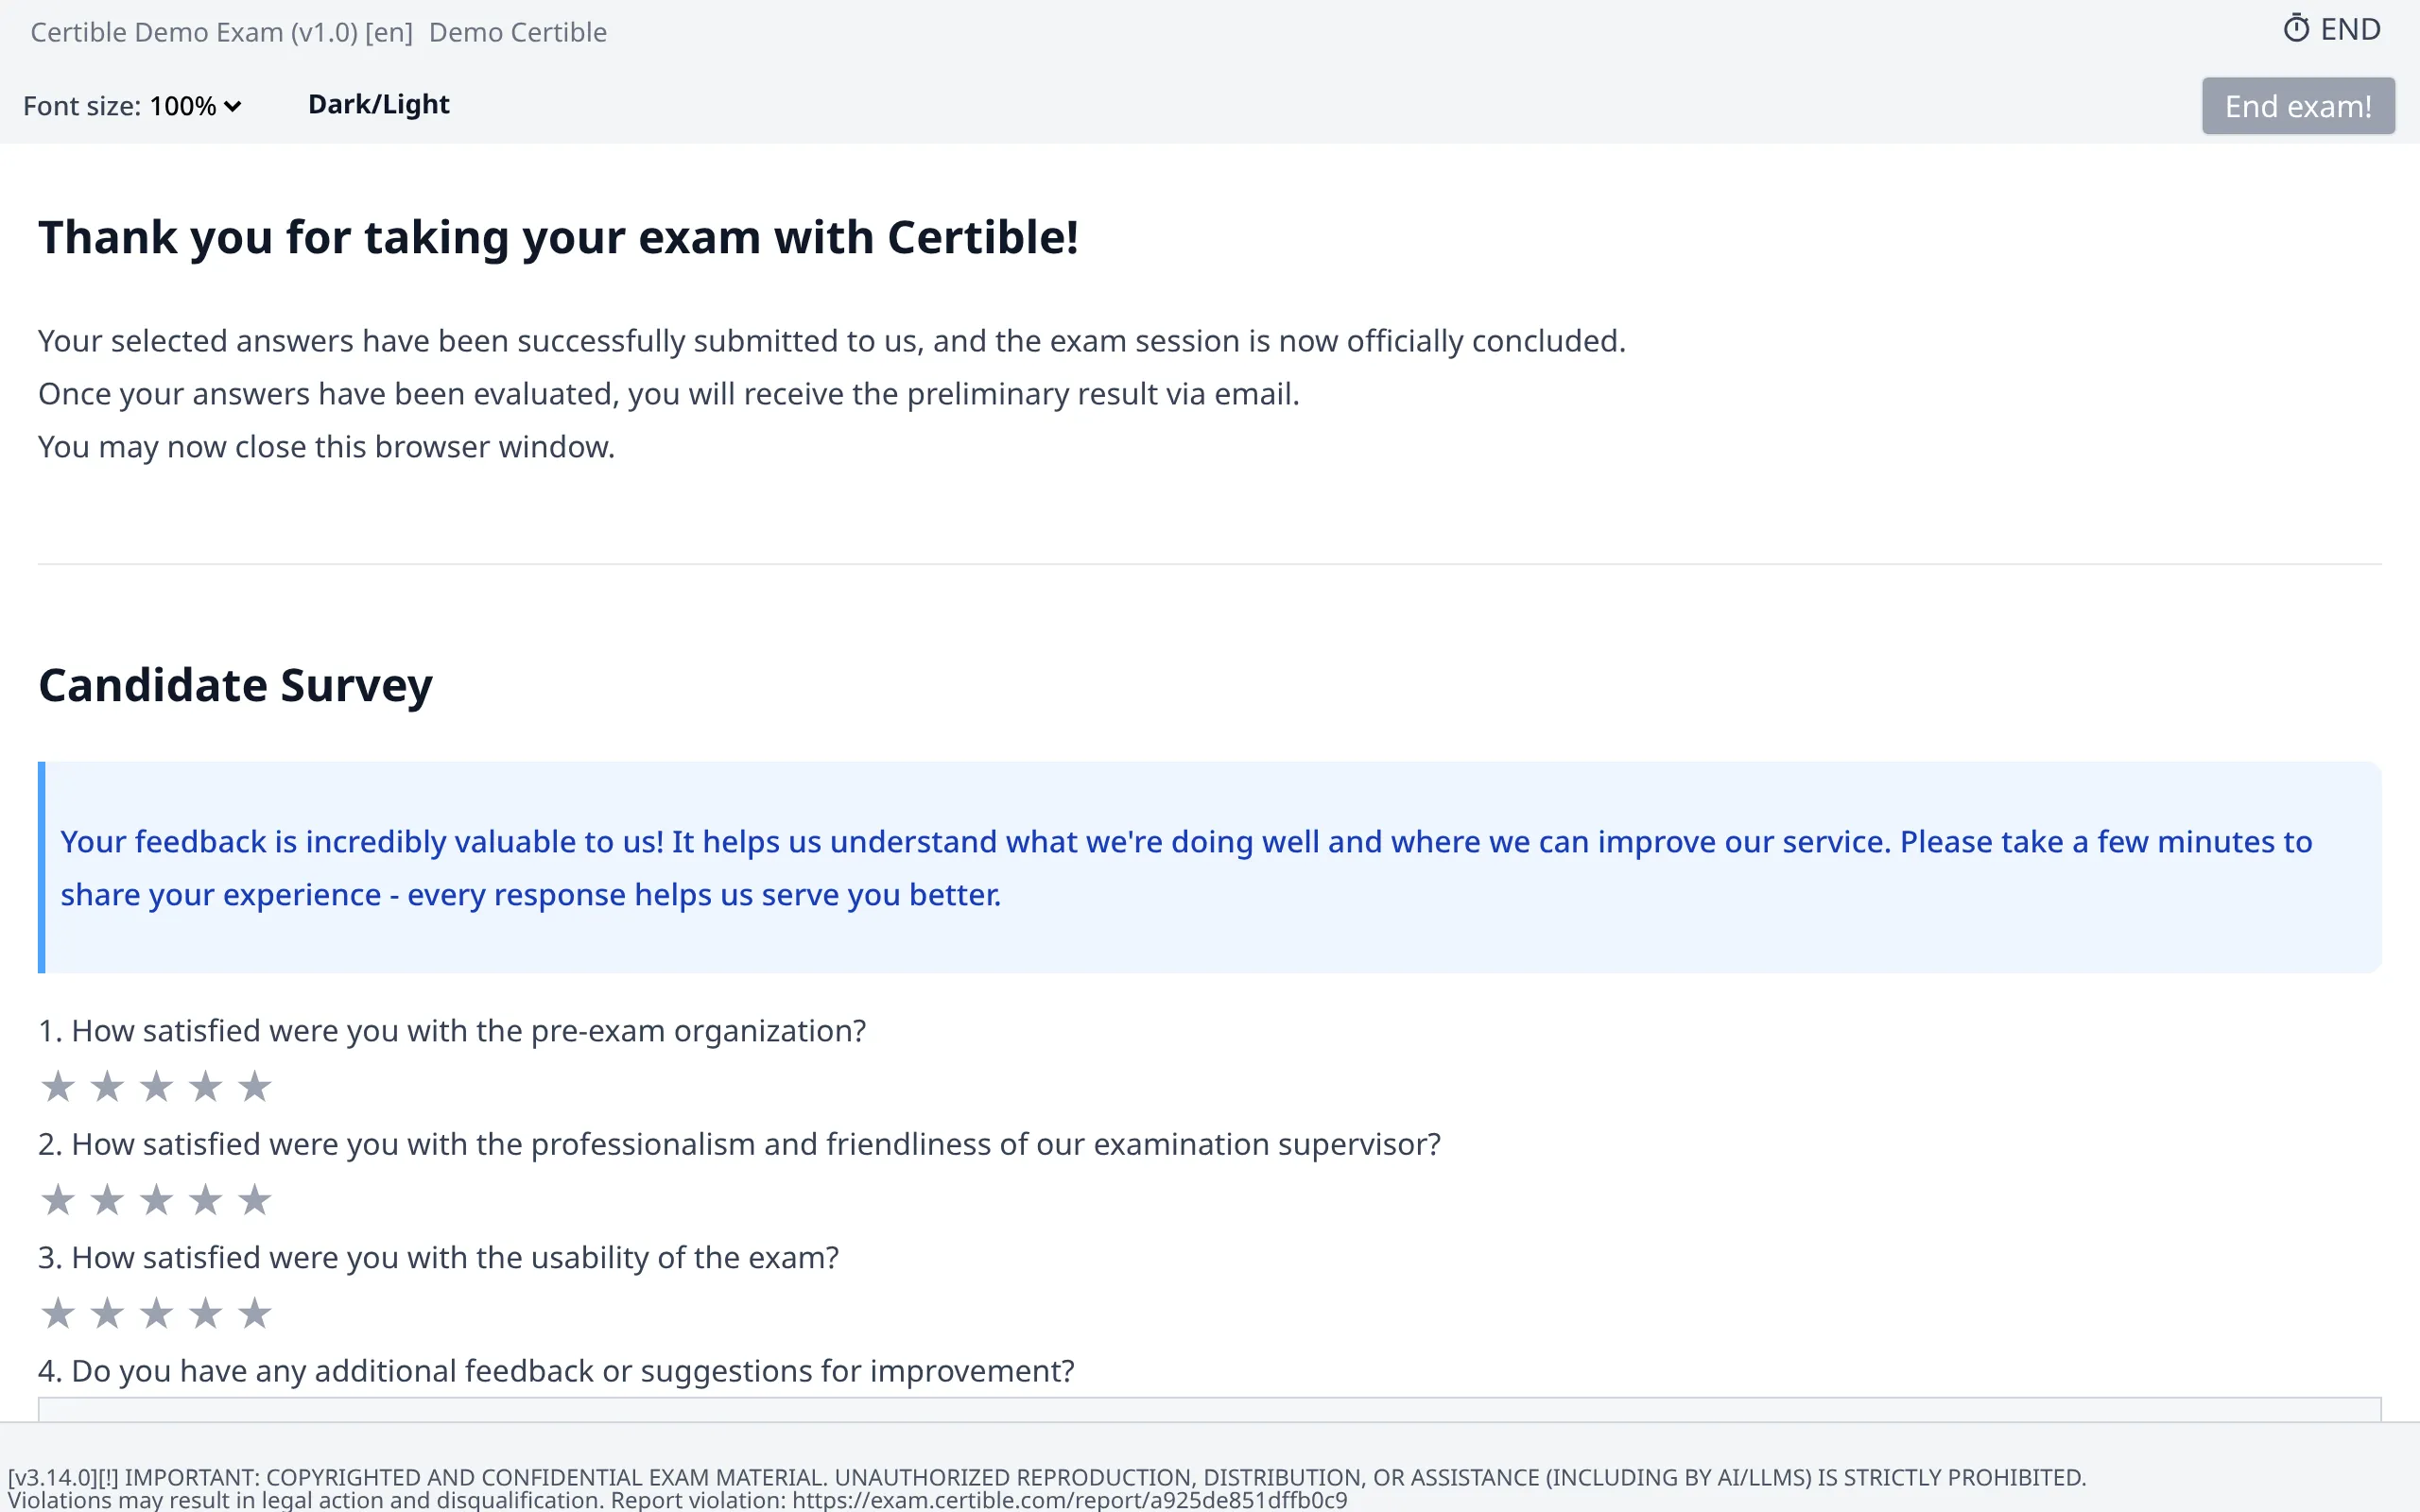
Your answers are submitted. You receive your preliminary result by email and may be asked to fill in a short survey.